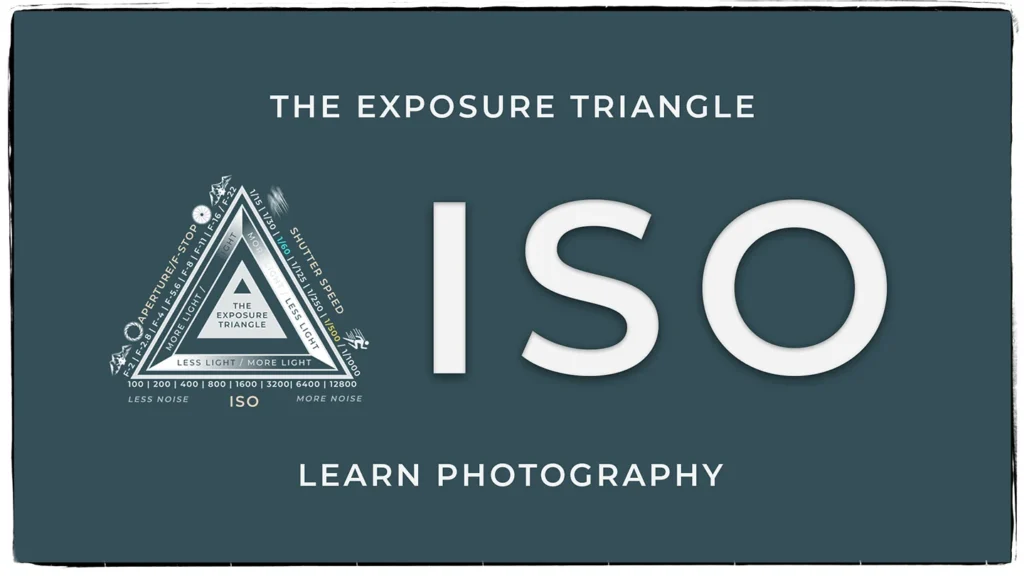
Shutter Speed Demystified: Mastering Light in the Exposure Triangle
Shutter speed is one of the most critical settings in photography. It plays a major role in determining how much light reaches your camera’s sensor, affecting both exposure and motion blur. Mastering shutter speed will give you more creative control, allowing you to capture everything from silky waterfalls to sharp, fast-moving action shots. In this guide, we’ll break down how shutter speed works, how it affects light and motion, and how to use advanced techniques like flash sync speed and high-speed sync.

What is Shutter Speed?
Shutter speed refers to the length of time your camera’s shutter remains open when taking a picture. It’s measured in fractions of a second, such as 1/500s, 1/250s, or even 30 seconds for long exposures. A faster shutter speed (like 1/1000s) means the shutter is open for a very short time, freezing motion. A slower shutter speed (like 1/10s or 1s) allows more light to hit the sensor, resulting in potential motion blur if your subject moves.
How Shutter Speed Affects Light and Motion
Shutter speed has a direct impact on two key aspects of your image: exposure and motion.
Exposure:
- A fast shutter speed (e.g., 1/1000s) limits the amount of light reaching the sensor, making images darker. This is useful in bright environments or when capturing fast action.
- A slow shutter speed (e.g., 1/10s or longer) allows more light to enter, which can brighten up low-light scenes without increasing ISO.
Motion:
- Fast shutter speeds freeze movement, making them ideal for sports, wildlife, and action photography.
- Slow shutter speeds create motion blur, which can be used creatively for light trails, waterfalls, or smooth water effects.
Choosing the Right Shutter Speed for Different Scenarios
Here’s a quick guide to choosing the right shutter speed:
- 1/4000s – 1/1000s: Freezes fast-moving subjects like birds in flight or speeding cars.
- 1/500s – 1/250s: Great for general action photography, such as sports or pets.
- 1/250s – 1/125s: Ideal for handheld portraits and everyday shooting.
- 1/60s – 1/30s: Works well in low light but may require image stabilization or a tripod.
- 1/15s – 1s: Perfect for light trails, waterfalls, or creative motion blur.
- Longer than 1s: Used for astrophotography, night landscapes, or smooth water effects.
Understanding Flash Sync Speed
Flash sync speed is the fastest shutter speed at which your camera can properly synchronize with a flash. Most cameras have a flash sync speed between 1/200s and 1/250s. If you use a shutter speed faster than your camera’s sync speed without special techniques, you may end up with a partially darkened image due to the shutter curtain blocking the flash’s light.
When using flash, keep these points in mind:
- Staying at or below sync speed ensures even flash exposure across the frame.
- Using high-speed sync (HSS) allows you to shoot at shutter speeds faster than your sync speed when using compatible flashes.
What is High-Speed Sync (HSS)?
High-Speed Sync (HSS) is a technology that lets you use flash at shutter speeds beyond your camera’s normal sync speed. This is especially useful when shooting in bright conditions where you need to use a wide aperture for a shallow depth of field but still require flash.
Benefits of High-Speed Sync:
- Balances flash with bright sunlight by allowing fast shutter speeds.
- Maintains shallow depth of field by enabling you to shoot at wide apertures (e.g., f/2.8) in daylight.
- Enhances creative possibilities when photographing outdoor portraits with flash.
When to Use High-Speed Sync:
- Outdoor portraits in bright sunlight where you want a blurred background.
- Fast action shots where you need both flash and a high shutter speed.
- Situations where normal sync speed limits your exposure options.
Mastering Shutter Speed: Tips and Tricks
Here are some expert tips to help you get the most out of shutter speed:
- Use a tripod for long exposures to prevent camera shake.
- Increase ISO instead of lowering shutter speed when shooting handheld in low light.
- Use image stabilization if your lens or camera body has it, especially at slower shutter speeds.
- Experiment with motion blur to create dynamic, artistic effects.
- Practice panning (moving the camera with a subject) to keep subjects sharp while blurring the background.
Conclusion
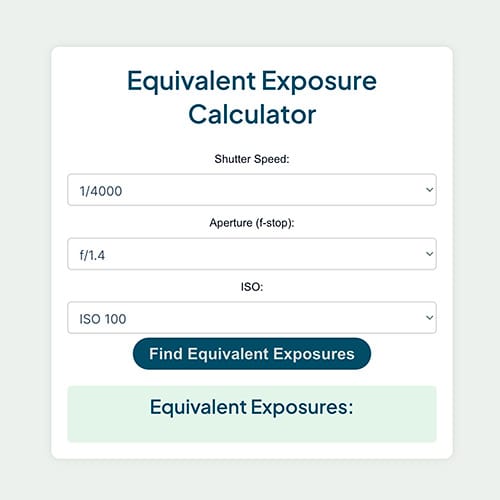
Shutter speed is a powerful tool that influences both exposure and motion in photography. By understanding how to control it, you’ll be able to capture stunning images, whether you want to freeze action, create motion blur, or balance flash with ambient light. Take the time to practice different shutter speeds in various scenarios to truly master this essential component of the exposure triangle. Check out my equivalent exposure calculator.