
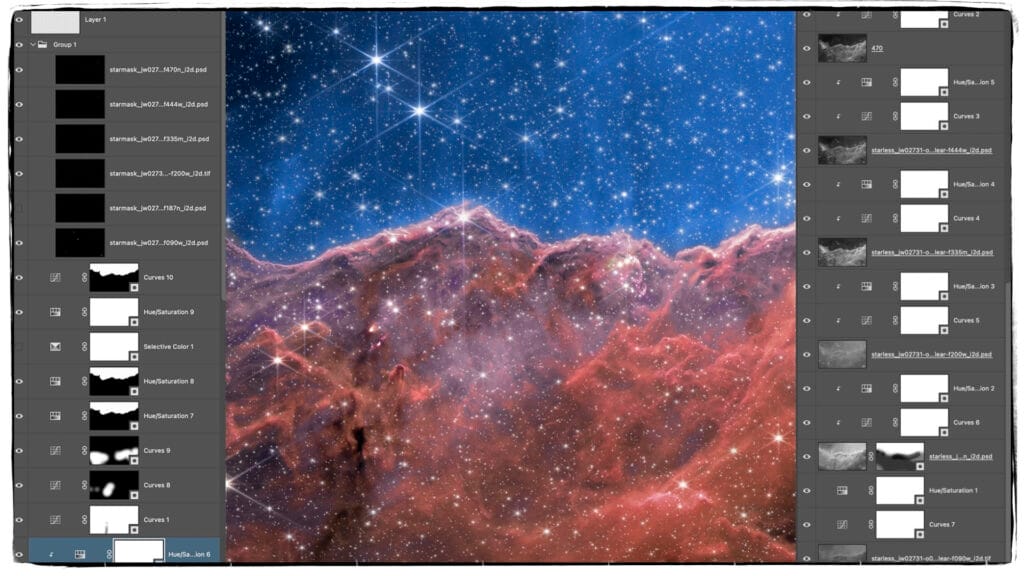
Mastering Astrophotography Edits: Non-Destructive Layers, Blending Modes, and Masks
Mastering Astrophotography Edits: Non-Destructive Layers, Blending Modes, and Masks https://youtu.be/fdVt4j4oM1k Mastering Astrophotography Edits: Non-Destructive Layers,…
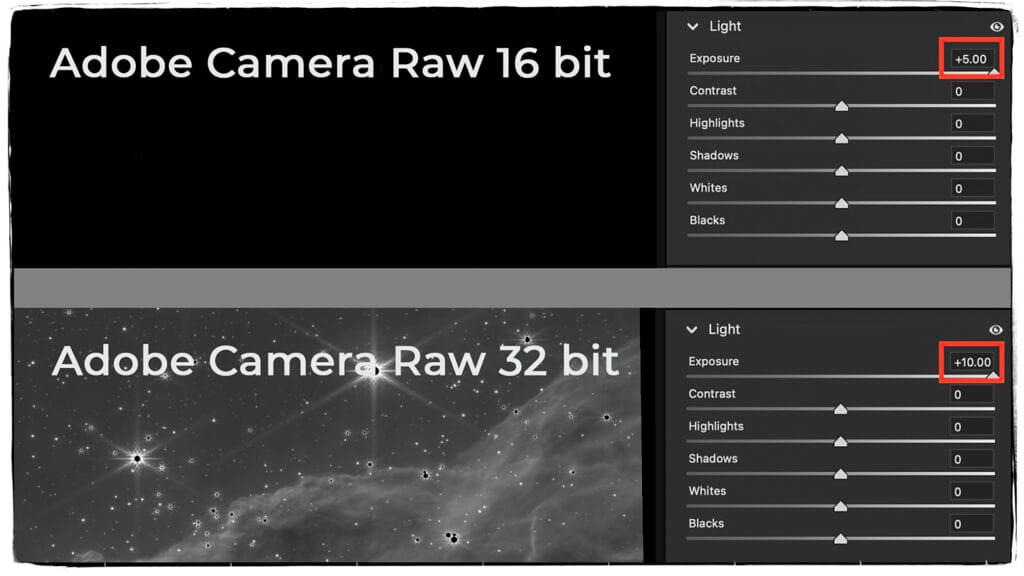
Unleashing the Power of 32-Bit Adobe Camera Raw Files for Stunning Astrophotography
Unleashing the Power of 32-Bit Adobe Camera Raw Files for Stunning Astrophotography https://youtu.be/RcbDwv_56Mw https://youtu.be/fdVt4j4oM1k This…
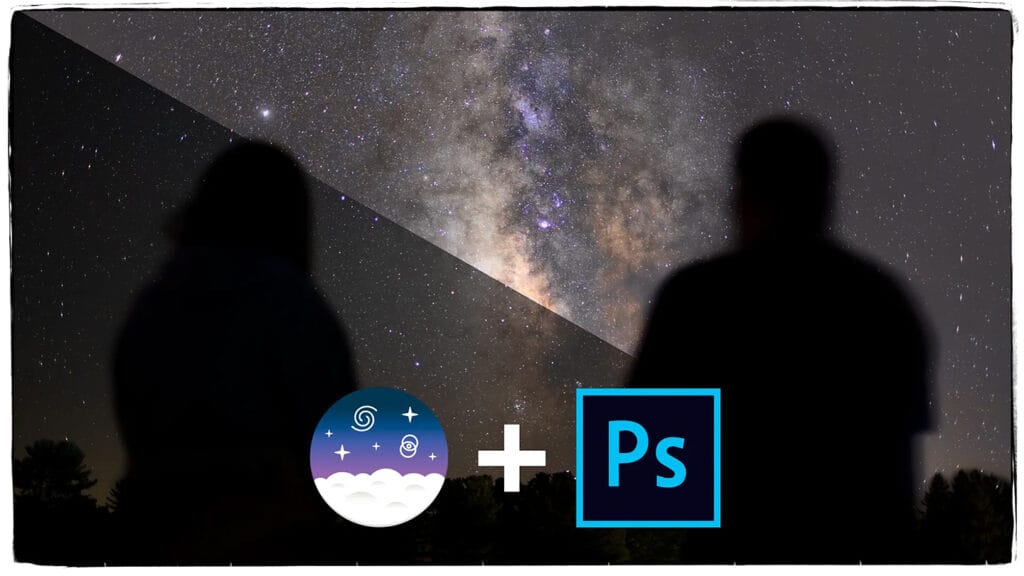
Mastering Milky Way Editing: Single Image Workflow in SiriL & Photoshop
Mastering Milky Way Editing: Single Image Workflow in SiriL & Photoshop https://youtu.be/uA9CqFX9gc0?si=WhKJe5mNzmIFCsGh SiriL & Photoshop:…
What Is Astrophotography?
Astrophotography is the art of photographing celestial objects and events in the night sky. Subjects may include stars, planets, galaxies, nebulae, meteors, and the Milky Way.
This specialized field combines photography, astronomy, and image processing. It also requires patience, planning, and a basic understanding of the night sky.
Many celestial objects appear too faint for the human eye to see clearly. However, a camera can collect light over a longer period. This process reveals colors and details that we cannot see with our eyes alone.
Revealing the Night Sky
Long exposures allow a camera sensor to gather light from faint celestial objects. As a result, stars, nebulae, and distant galaxies become more visible.
Modern astrophotographers often capture many shorter exposures instead of one extremely long exposure. They then combine, or stack, those images with specialized software.
Image stacking strengthens useful detail while reducing random noise. It also gives photographers greater control over the final photograph.
Different subjects require different techniques. For example, deep-sky objects often need long, tracked exposures. Planets usually require many short exposures or video frames because they appear much brighter.
Wide-angle Milky Way photography uses another approach. Photographers often combine a fast lens, high ISO, and a relatively short exposure.
Astrophotography Combines Art and Science
Successful astrophotography requires more than basic camera skills. Photographers must also understand how objects move across the night sky.
Earth constantly rotates. Therefore, stars appear to move during a long exposure.
An untracked camera will eventually record stars as lines instead of sharp points. A short exposure can reduce this motion, but it also collects less light.
Many astrophotographers use a motorized tracking mount to solve this problem. The mount moves the camera at the same rate as the stars. This movement allows the camera to follow a specific area of the sky.
Accurate tracking makes longer exposures possible. It also helps photographers record faint objects with greater detail.
Photographers must also plan where and when an object will appear. Astronomy and planning apps can identify its location, visibility, and movement.
NASA’s skywatching resources can also help photographers learn about planets, meteor showers, eclipses, and other celestial events.
Essential Astrophotography Equipment
You can begin astrophotography with a camera, tripod, and wide-angle lens. However, advanced subjects may require more specialized equipment.
Common astrophotography equipment includes:
- A camera with good low-light performance
- A sturdy tripod
- A fast wide-angle lens
- A remote shutter release or interval timer
- A motorized star tracker
- A telescope
- A telescope mount with accurate tracking
- A focusing aid
- Extra batteries
- A dew heater
- Image-stacking software
A fast lens uses a wide aperture to collect more light. Apertures such as f/1.4, f/1.8, or f/2.8 work well for many night-sky photographs.
Telescopes can provide the focal length needed for planets, galaxies, and nebulae. However, a telescope also increases the need for accurate tracking and focusing.
The tracking mount often matters more than the camera for deep-sky photography. Even an expensive camera cannot correct motion caused by poor tracking.
Exposure and Camera Settings
Astrophotography takes place in extremely low light. Therefore, photographers must balance aperture, shutter speed, and ISO carefully.
A wide aperture allows more light to reach the sensor. A longer exposure also collects more light. However, long exposures can record star movement unless the camera tracks the sky.
A higher ISO makes the recorded image appear brighter. It can also make noise and other image problems more visible.
The best ISO depends on the camera, subject, and sky conditions. Therefore, photographers should test several settings instead of relying on one universal recommendation.
Accurate focus also plays an important role. Autofocus may struggle in darkness, so many photographers focus manually on a bright star.
Live View can help with this process. Magnify the star and adjust focus until it appears as small and sharp as possible.
Controlling Noise and Improving Detail
Noise creates a major challenge in astrophotography. Long exposures and warm camera sensors can increase unwanted color and grain.
Photographers often capture several types of calibration frames to improve the final image:
- Dark frames record noise and hot pixels.
- Flat frames correct dust spots and uneven illumination.
- Bias frames record the camera sensor’s readout pattern.
- Light frames contain the actual photographs of the subject.
Stacking software combines these files and reduces technical problems. Programs such as Siril can align, calibrate, and stack astrophotography images.
Photographers can then adjust contrast, color, and detail during post-processing. Careful editing reveals faint structures without making the image look harsh or unnatural.
Planning for Weather and Dark Skies
Weather greatly affects astrophotography. Clouds, humidity, wind, and atmospheric haze can reduce image quality.
The Moon also changes the appearance of the sky. A bright Moon can wash out faint stars and deep-sky objects. However, moonlight can illuminate a landscape in a night photograph.
Light pollution creates another challenge. Artificial light from cities brightens the sky and reduces contrast.
Many astrophotographers travel to rural locations with darker skies. These locations make faint stars, nebulae, and the Milky Way easier to photograph.
Successful planning should consider:
- Cloud cover
- Moon phase
- Moonrise and moonset
- Light pollution
- Humidity
- Wind
- Temperature
- The subject’s location in the sky
Even with careful planning, conditions can change quickly. Therefore, astrophotography requires flexibility and patience.
Types of Astrophotography
Astrophotography includes several different approaches.
Wide-Field Astrophotography
Wide-field images show large areas of the night sky. Common subjects include the Milky Way, constellations, and meteor showers.
Night Landscape Photography
Night landscapes combine stars with mountains, trees, buildings, or other foreground elements. Photographers may use separate exposures for the sky and foreground.
Deep-Sky Astrophotography
Deep-sky photography records nebulae, galaxies, and star clusters. It often requires tracking, stacking, and several hours of total exposure time.
Planetary Photography
Planetary photography captures the Moon, Sun, and planets. Photographers often record video and combine the sharpest frames.
Never photograph or observe the Sun without a certified solar filter. Direct sunlight can permanently damage your eyes and camera equipment.
Star-Trail Photography
Star-trail photographs record the apparent movement of stars across the sky. Photographers can use one long exposure or combine many shorter exposures.
The Art of Astrophotography
Astrophotography depends on technical precision, but it also requires artistic choices.
Composition, color, timing, and perspective influence the final photograph. The photographer must decide how to balance the sky with any foreground elements.
Post-processing also affects the mood and appearance of the image. Subtle adjustments can reveal detail while preserving a natural appearance.
Astrophotography images range from wide views of the Milky Way to detailed photographs of distant galaxies. Each approach offers a different view of the universe.
These photographs can serve as works of art, personal records, or scientific observations. They can also help viewers understand the scale and beauty of space.
Conclusion
Astrophotography combines photography, astronomy, technology, and artistic vision. It challenges photographers to understand both their equipment and the night sky.
The process often requires careful planning, accurate tracking, multiple exposures, and detailed editing. Weather and light pollution can make the work even more difficult.
However, the results can reveal objects that the human eye cannot see clearly. Through patience and practice, photographers can create remarkable images of the universe.
The following astrophotography links provide additional information, tutorials, and resources.
“Feel free to send me recommendations for other astrophotography sites.”

Check out my page dedicated to Alternative Process in Photography. I will add more information over time and feel to send me other information.