ISO Demystified: Mastering Light in the Exposure Triangle
ISO Demystified: Mastering Light in the Exposure Triangle
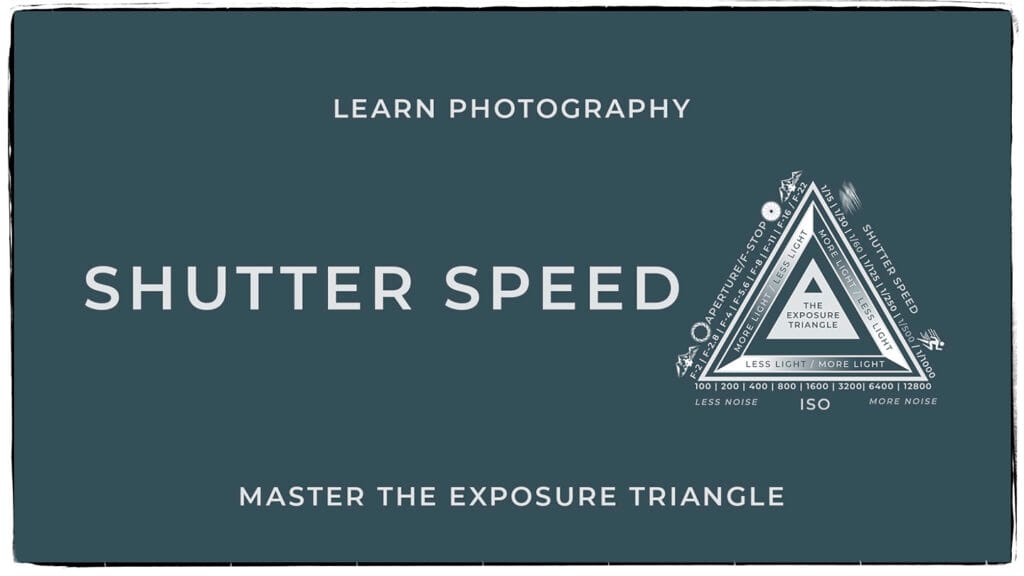
When learning photography, one of the first technical concepts beginners encounter is the Exposure Triangle, which consists of ISO, shutter speed, and aperture. Each of these settings controls how much light reaches your camera’s sensor, and understanding them is key to mastering photography. Today, we’re focusing on ISO, a crucial element that determines your camera’s sensitivity to light.
What Is ISO?
ISO (International Standards Organization) is a numerical value that represents how sensitive your camera’s sensor is to light. Lower ISO values (e.g., 100 or 200) mean less sensitivity, while higher values (e.g., 1600, 3200, or beyond) increase sensitivity.
Think of ISO like sunglasses: a low ISO is like wearing dark sunglasses on a sunny day (blocking excess light), while a high ISO is like removing them in a dim environment to let in more light.

How ISO Affects Your Photos
ISO impacts your images in two major ways:
- Brightness – A higher ISO brightens your image, which is useful in low-light situations.
- Noise (Graininess) – The higher the ISO, the more digital noise (grain) appears in the image, reducing overall quality.
Choosing the Right ISO Setting
To get the best image quality, always aim for the lowest ISO possible while maintaining proper exposure. Here are some general guidelines:
- ISO 100-200: Best for bright conditions (outdoors on a sunny day).
- ISO 400-800: Suitable for cloudy days or indoor shooting with good lighting.
- ISO 1600-3200+: Useful for low-light situations, night photography, or indoor events without a flash.
Balancing ISO with Shutter Speed and Aperture
Since ISO is part of the Exposure Triangle, adjusting it affects the other two settings:
- If you increase ISO, you can use a faster shutter speed to freeze motion or a smaller aperture (higher f-stop) for greater depth of field.
- If you decrease ISO, you may need a slower shutter speed or a wider aperture (lower f-stop) to compensate for the reduced brightness.
Practical Tips for Using ISO
- Use Auto ISO for Convenience – Many cameras allow you to set a maximum ISO limit while letting the camera adjust within that range.
- Test Your Camera’s Noise Levels – Every camera handles high ISO differently. Experiment to find the highest ISO you can use before noise becomes distracting.
- Use Noise Reduction Tools – If you must shoot at high ISO, software like Adobe Lightroom and Photoshop can help reduce graininess.
Conclusion
ISO is a powerful tool in your photographic arsenal. By mastering how to balance ISO with shutter speed and aperture, you’ll have greater control over your exposure, whether you’re shooting in bright sunlight or dimly lit environments. Keep practicing, experiment with different ISO settings, and watch your photography skills grow!