How to Develop Black and White Film at Home
A beginners guide to developing Black and White Film
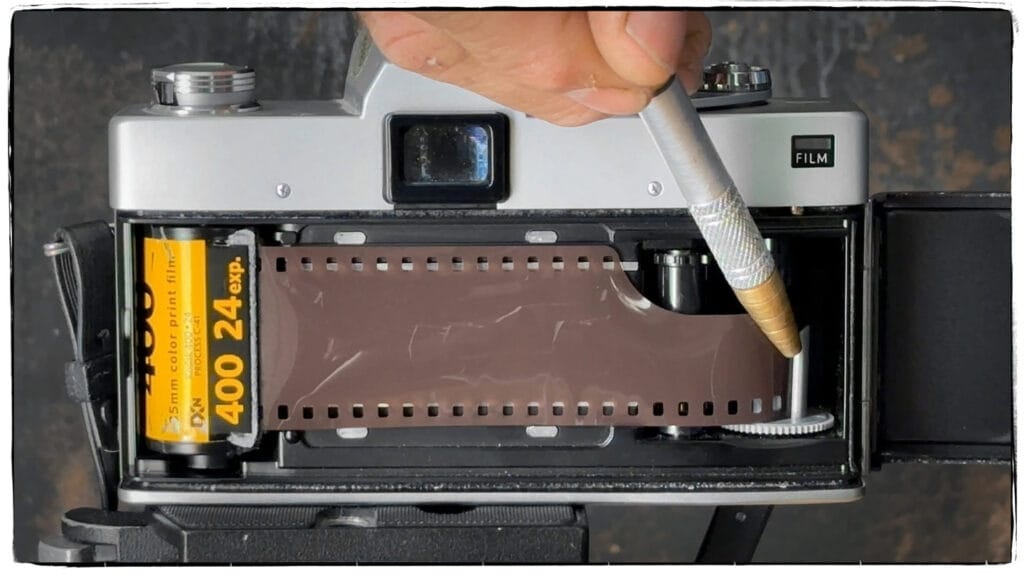
How to Load 35mm Film into a Paterson or Stainless Steel Tank
Optional Pre-soak: I prefer to pre-soak film in 68 degree water for 30 seconds before starting the development!
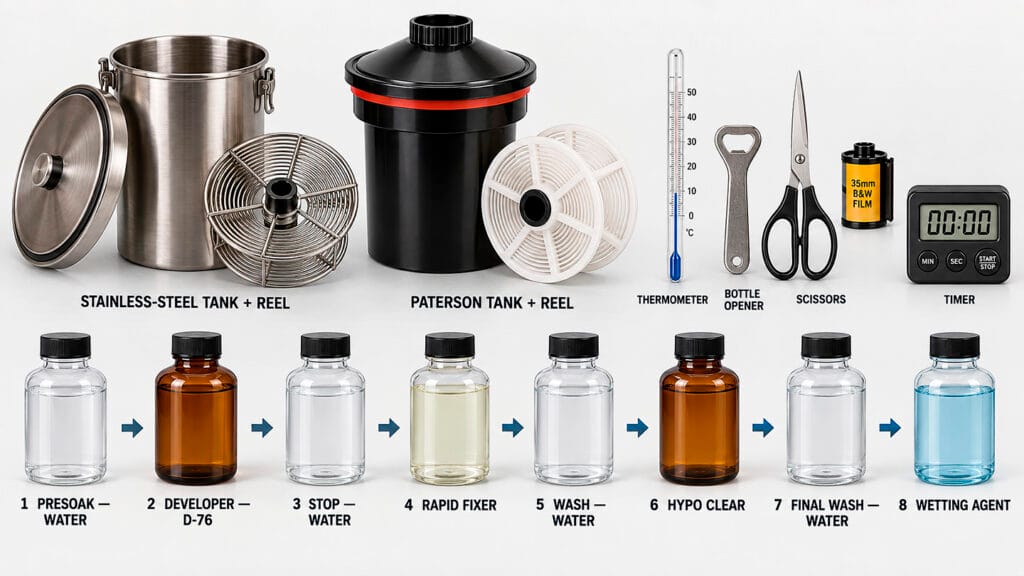
1. Develop — Black-and-white film developer. Converts exposed silver halide into the visible negative image. Choose one liquid developer and follow its film-specific time, temperature, dilution, and agitation chart. D-76 is the most commonly used film developer.
2. Stop — Citric/acetic stop bath or manufacturer-approved water rinse. Stops or slows development and reduces developer carryover. An indicator stop bath makes exhaustion easier to see, but use only as directed. Personally, I have only used water throughout my career. Just one quick rinse and add the Fixer.
3. Fix — Rapid fixer. Makes the image light-safe by removing undeveloped silver halide. Confirm fixing time and capacity; exhausted fixer causes permanence problems. Note: Fixer is reusable, but you need to use hypo check to see if it is exhausted. Add a drop to the fixer, if it stays clear it is good, if it turns milky it is exhausted.
4. Wash — Running water or a validated fill-and-invert sequence. Removes residual processing chemicals. Keep wash temperature reasonably close to processing solutions. This can be hard to find. Essentially, the water inlet is at the bottom, and exits the top. Here is a link I found.
5. Wash Aid — Wash aid / hypo-clearing agent. Can shorten or improve washing in specified workflows. Useful for archival workflows; not a substitute for correct fixing and washing.
6. Final rinse — Wetting agent. Before the wetting agent wash your film another 5 minutes. Promotes even drainage and reduces drying marks. Mix accurately; too much can create foam and residue. Take the film off the reel and run two finger carefully down the film to remove excess water for drying. Store in a dust free environment with two wooden close pins.
Film developer and paper developer are not interchangeable unless the manufacturer specifically supplies instructions for both. A fixer concentrate may serve both processes, but prepare and label separate working solutions for film and paper.
Follow the film processing sequence
Load in complete darkness → develop(D-76) → stop(Water) → fix(Kodak Rapid Fix) → wash(Water) → wash(hypo-clear) → wetting-agent rinse(Wetting Agent) → dry(Take the film out of the roll, and hang straight. Add a close pin on the bottom so it will not curl.
Fix for the manufacturer’s specified time and dilution; first clearing is not the endpoint. After the tank is light-tight, follow its instructions for daylight processing.
The developer controls much of the negative’s density, contrast, grain, and effective speed. The fixer makes the film safe to view in room light. Never improvise development times: consult the current film/developer chart, and keep written notes for every roll.


John Whitehead