
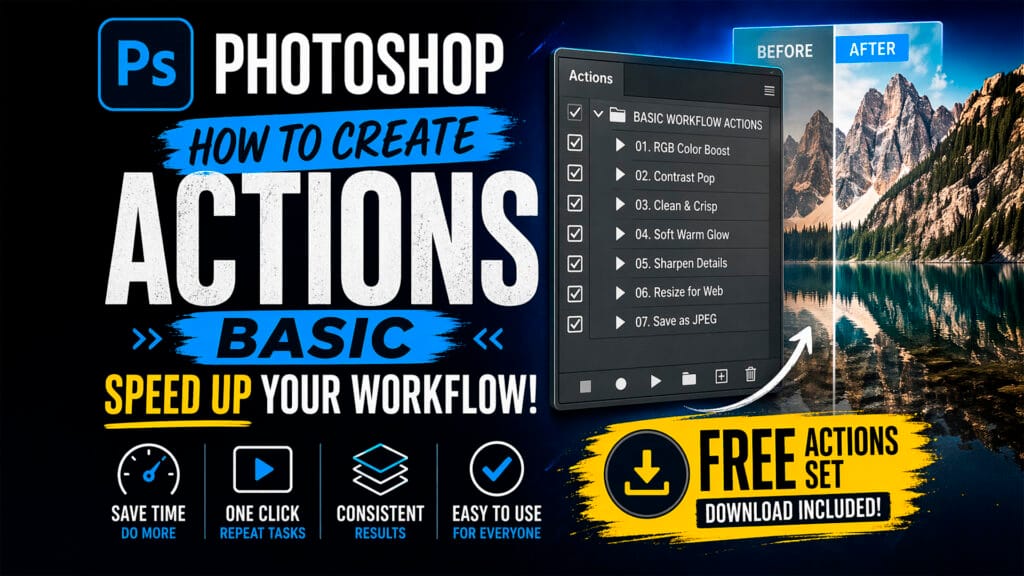
Stop Wasting Time! Create Photoshop Actions in Minutes (FREE Download)
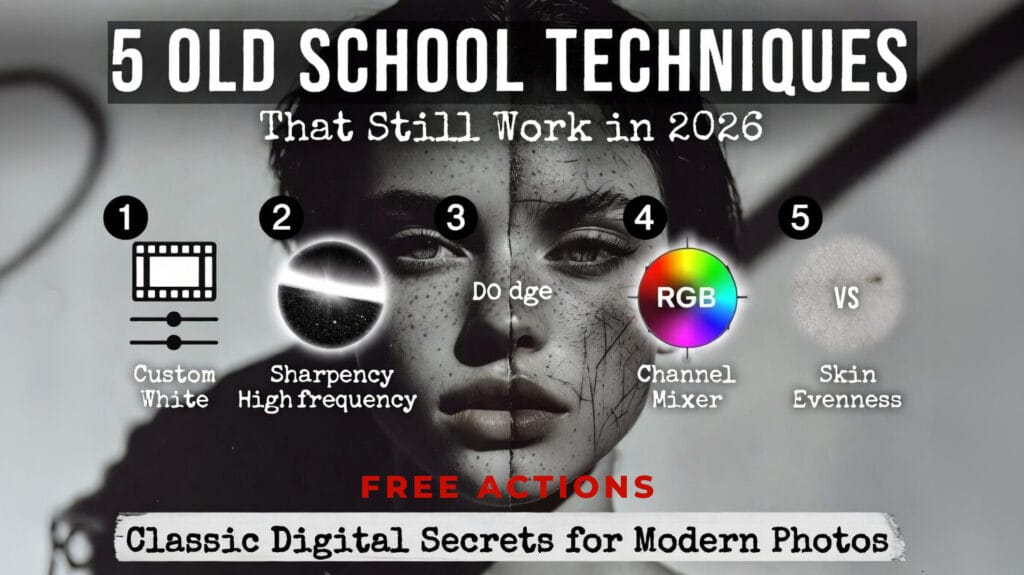
5 Old School Photo Editing Techniques That Still Work Perfectly in 2026

Easily Add Dynamic Photoshop Borders: Basic, Custom & Nik Collection 8 Frames
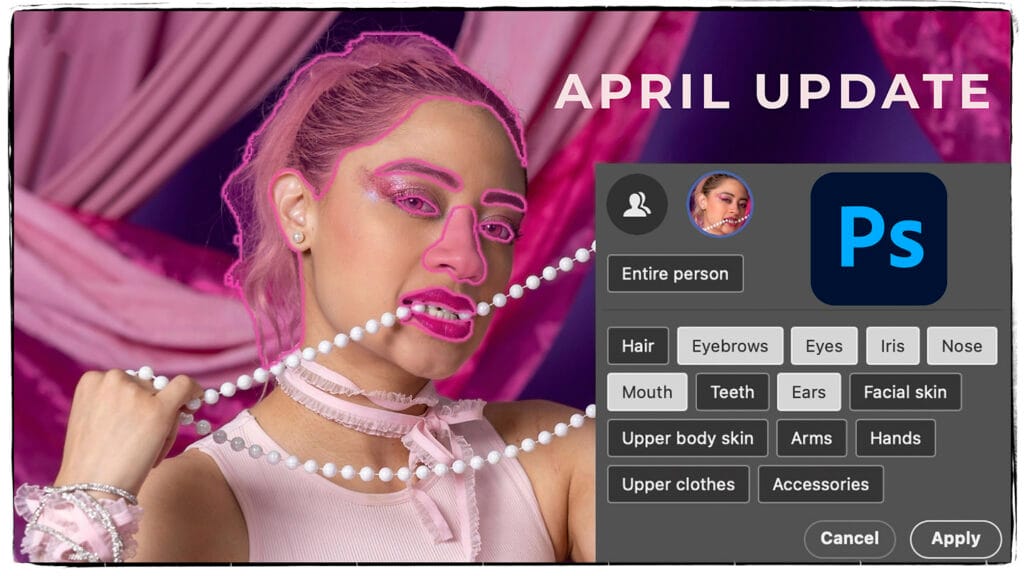
Photoshop 2025 Update Is Here! Everything You Need to Know
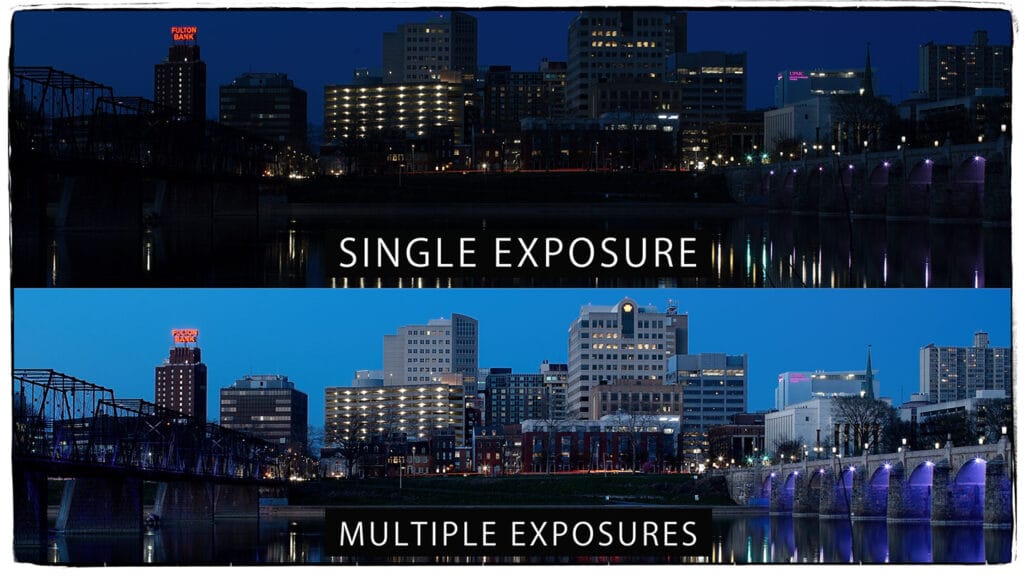
How to Boost Dynamic Range with Multiple Exposures Over Time

Understanding Color Gamut in Photography
Design Smarter: Creating a Photoshop Template with Frames & Guides
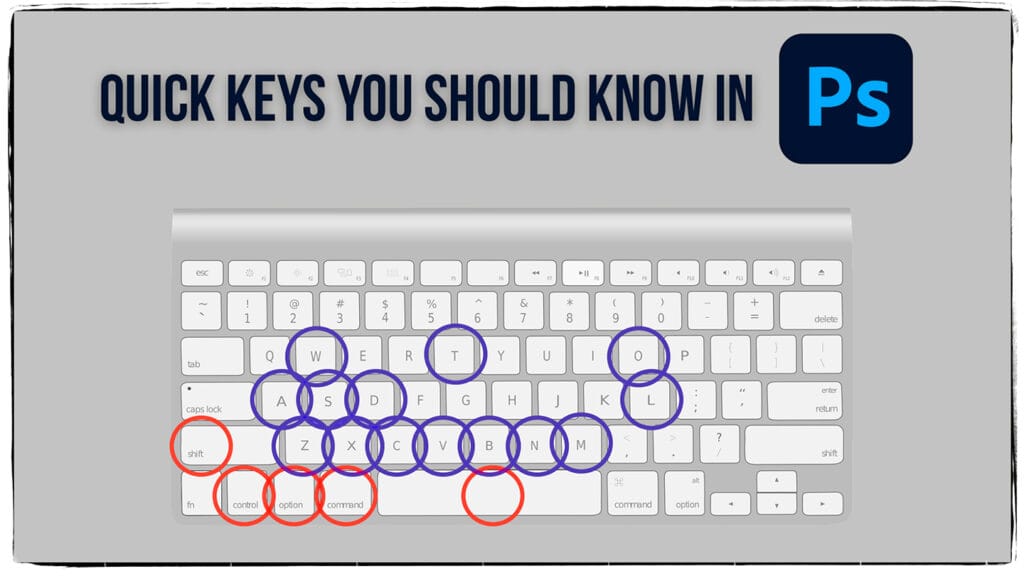
Photoshop Shortcuts You NEED to Know for Faster Editing!
Photoshop Sizing and Saving Explained: Free Sizing & Saving Actions
An Honest look at Photoshop’s Generative AI

Step-by-Step Guide: Creating Slideshows with Audio in Photoshop
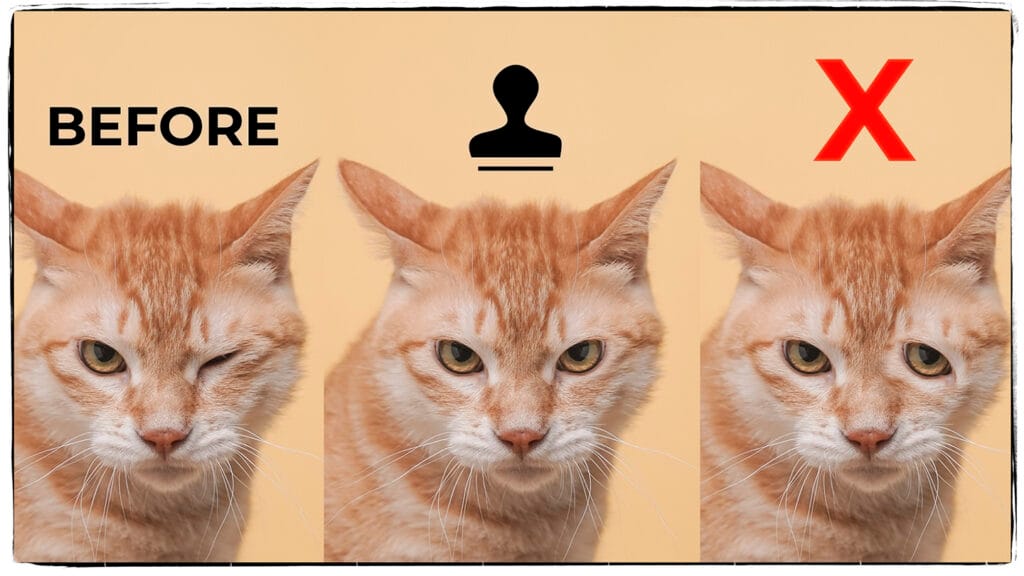
Photoshop Tips: How to Rotate, Flip and Use the Clone Stamp Tool
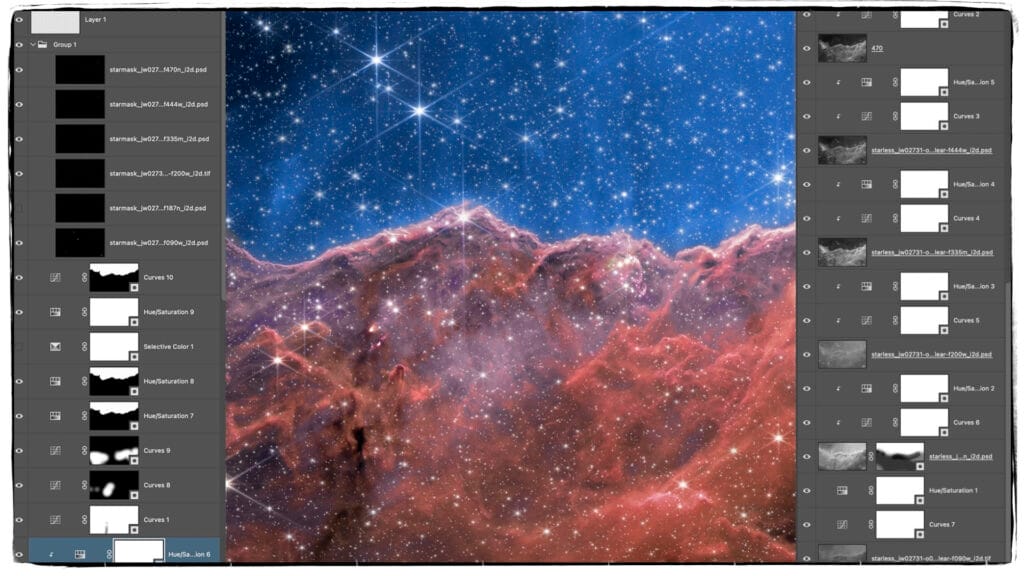
Mastering Astrophotography Edits: Non-Destructive Layers, Blending Modes, and Masks
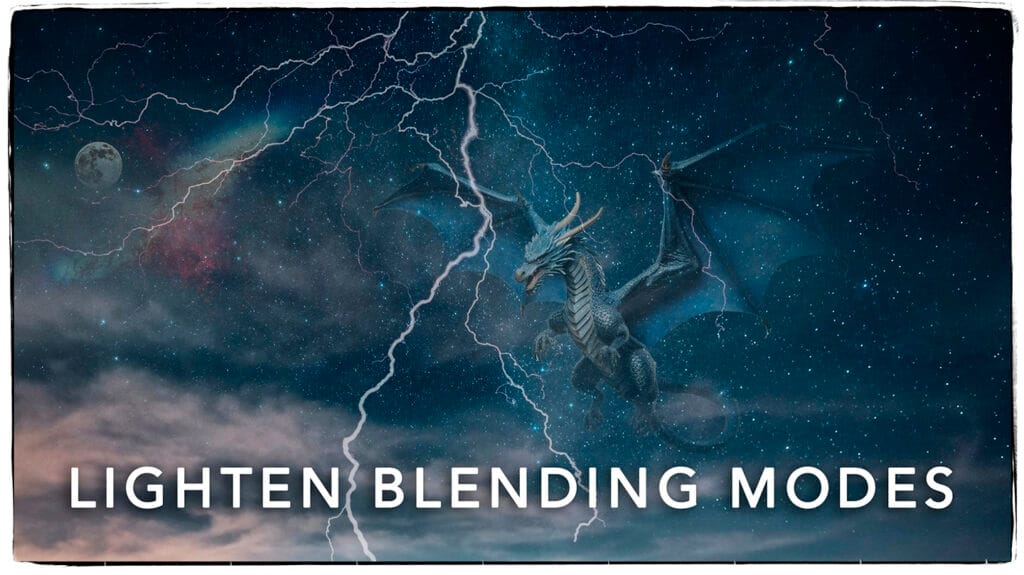
Effortlessly Blend Light into Dark Using Lighten Blending Modes
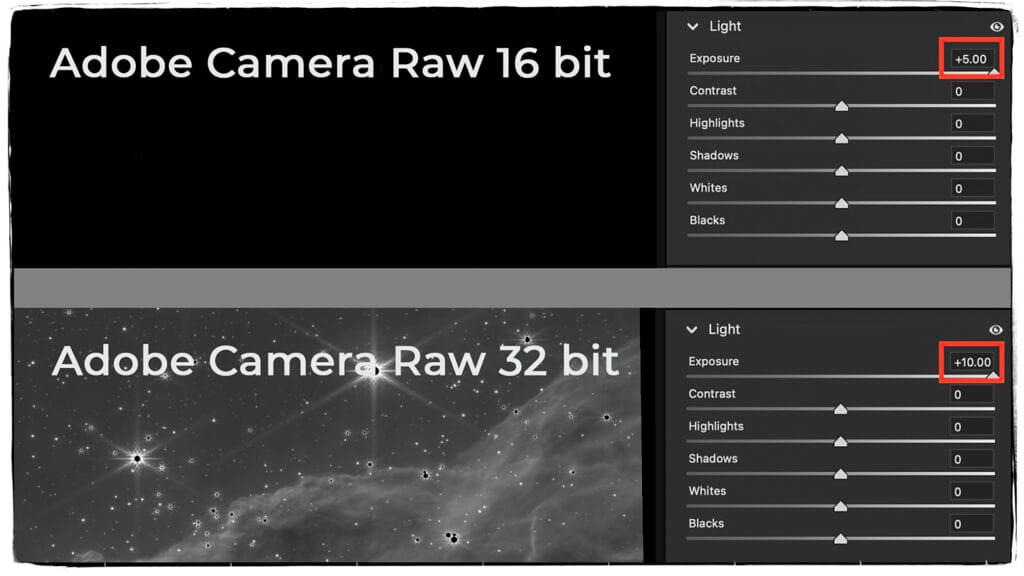
Unleashing the Power of 32-Bit Adobe Camera Raw Files for Stunning Astrophotography
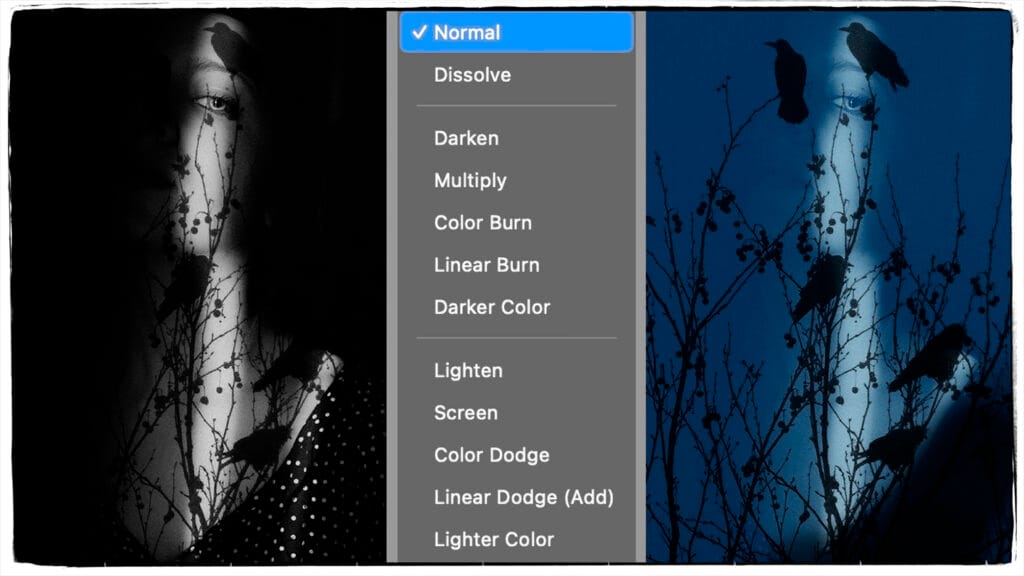
Unlock Darken Blending Modes in Photoshop: A Step-by-Step Guide
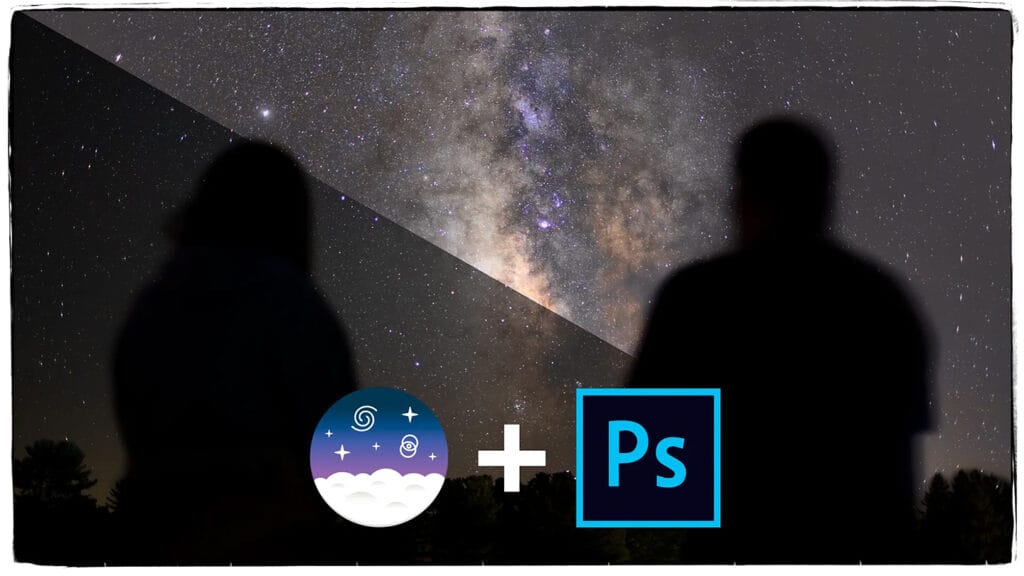
Mastering Milky Way Editing: Single Image Workflow in SiriL & Photoshop

Mastering Hair Selections: Pro Tips for Flawless Results

Whisky Bottle Lighting Product Photography

What Is Advanced Adobe Photoshop?
Adobe Photoshop sets the industry standard for professional image editing. Photographers, designers, artists, and marketing professionals rely on its powerful tools.
Many people use Photoshop for basic tasks, such as cropping or adjusting brightness. However, advanced Adobe Photoshop techniques go far beyond these simple edits.
Advanced skills give you greater control over retouching, compositing, graphic design, and digital painting. They also help you work more efficiently and protect your original images.
In this post, we will explore advanced Adobe Photoshop tools and techniques. We will also look at how professionals use them to create high-quality work.
What Is Advanced Adobe Photoshop?
Advanced Adobe Photoshop requires a deeper understanding of the program’s tools and features. It combines technical knowledge, careful editing, and creative decision-making.
Advanced users often work with layers, masks, selections, Smart Objects, and blend modes. They also use non-destructive techniques that preserve the original image.
These skills support many creative fields, including:
- Photography
- Graphic design
- Digital illustration
- Advertising
- Web design
- Social media
- Digital marketing
Advanced Photoshop does not involve one specific tool or technique. Instead, it requires you to combine several tools to solve complex visual problems.
Advanced Adobe Photoshop Techniques
1. Layer Masks and Clipping Masks
Layer masks control which parts of a layer remain visible. You can hide or reveal areas without deleting pixels.
Paint with black on a layer mask to hide part of the layer. Paint with white to reveal it again. Shades of gray create partial transparency.
Layer masks support a non-destructive workflow. Therefore, you can revise the mask without changing the original image.
Clipping masks connect one layer to the layer below it. The upper layer only appears within the visible content of the lower layer.
For example, you can place a photograph inside text or a shape. You can also apply an adjustment to one layer without changing the entire image.
Both techniques give you greater control over how layers interact.
2. Blend Modes
Blend modes control how one layer interacts with the layers beneath it. They change how Photoshop combines colors, tones, and textures.
Common blend modes include:
- Multiply: Darkens an image and often removes white areas.
- Screen: Lightens an image and often removes black areas.
- Overlay: Increases contrast while combining highlights and shadows.
- Soft Light: Creates a more subtle contrast effect.
- Color: Applies color while preserving luminosity.
- Luminosity: Applies brightness values while protecting color.
Photographers often use blend modes for dodging, burning, sharpening, and texture effects. Digital artists also use them to build light, color, and atmosphere.
Each blend mode produces a different result. Therefore, you should experiment with layer opacity and blending options.
3. Smart Objects and Smart Filters
Smart Objects protect image information while you transform or filter a layer.
Normally, repeated resizing can reduce image quality. However, a Smart Object preserves the original image data. You can resize, rotate, warp, or transform it without permanently changing the source.
Smart Objects also support Smart Filters. These filters remain editable after you apply them.
For example, you can add sharpening or blur as a Smart Filter. Then, you can adjust or remove the effect later.
Smart Objects work especially well with templates, mockups, and photo composites. They also improve workflows that require frequent revisions.
4. Frequency Separation for Portrait Retouching
Frequency separation divides an image into separate texture and color information.
One layer contains fine details, such as pores, hair, and skin texture. Another layer contains color, tone, and gradual transitions.
This separation allows you to correct uneven color without removing natural texture. You can also repair texture without changing the underlying skin tone.
However, frequency separation requires restraint. Excessive smoothing can make skin look artificial or plastic.
Professional retouching should preserve the person’s natural features. Therefore, use subtle adjustments and review the image at several magnifications.
5. Advanced Selections
Complex editing often begins with an accurate selection. Photoshop provides several tools for selecting people, objects, hair, clothing, and backgrounds.
Useful selection tools include:
- Object Selection: Identifies objects within an image.
- Select Subject: Automatically selects the main subject.
- Pen Tool: Creates precise paths around objects with defined edges.
- Channels: Uses tonal or color contrast to build detailed selections.
- Color Range: Selects areas based on color or brightness.
- Select and Mask: Refines edges and improves difficult selections.
The Select and Mask workspace helps refine hair, fur, and other complex edges. Its Refine Hair tool can improve hair selections with one command.
No single selection tool works perfectly for every image. Advanced users often combine several tools to produce the best result.
6. Photo Compositing
Photo compositing combines elements from several photographs into one image. A successful composite should look visually believable and intentional.
Advanced compositing requires accurate selections and careful masking. It also requires matching the light, color, perspective, sharpness, and depth of field.
For example, every element should share a similar light direction. Shadows should also match the light’s angle and softness.
Color grading helps unify images from different sources. In addition, subtle texture and noise can make separate elements feel more consistent.
Advertising, editorial design, digital art, and entertainment often use photo compositing.
7. Camera Raw Filter and Advanced Color Editing
The Camera Raw Filter brings many Adobe Camera Raw controls into Photoshop. You can use it to adjust exposure, color, contrast, texture, and detail.
Converting the layer into a Smart Object creates a more flexible workflow. You can then apply Camera Raw as an editable Smart Filter.
The Camera Raw Filter includes controls for:
- Exposure and contrast
- Highlights and shadows
- White balance
- Color Mixer adjustments
- Color grading
- Texture, clarity, and dehaze
- Sharpening and noise reduction
- Lens corrections
- Local masking
Advanced users often combine Camera Raw adjustments with masks and blend modes. This approach provides precise control over color and tone.
8. Custom Brushes and Digital Painting
Photoshop allows you to create and customize brushes. You can control the brush shape, spacing, texture, angle, and pressure response.
Custom brushes can create clouds, hair, foliage, smoke, fabric, and other textures. Digital artists can also build brushes that resemble pencils, charcoal, ink, or paint.
The Brush Settings panel controls how a brush behaves. For example, you can adjust size variation, scattering, texture, and transfer.
Advanced digital painting also requires strong layer organization. Separate layers make it easier to revise color, shading, texture, and details.
9. Actions and Automation
Photoshop Actions record a sequence of editing steps. You can replay those steps on another image with one command.
Actions can automate tasks such as:
- Resizing images
- Adding borders
- Applying sharpening
- Converting color profiles
- Saving files in different formats
- Preparing images for the web
- Adding watermarks
You can also use Actions with Photoshop’s Batch command. Together, these tools can process an entire folder of images.
Automation saves time and improves consistency. However, you should test each Action before applying it to important files.
10. Advanced Typography Effects
Photoshop offers several tools for creative typography. Designers can combine text with masks, textures, photographs, and layer styles.
Advanced typography techniques include:
- Warping text
- Placing images inside letters
- Adding textures with clipping masks
- Creating shadows and highlights
- Applying gradients
- Combining several typefaces
- Adjusting spacing and alignment
- Converting text into shapes
Good typography requires more than adding special effects. Font choice, spacing, contrast, and readability still matter.
Therefore, visual effects should support the message rather than distract from it.
Building an Advanced Photoshop Workflow
Advanced Adobe Photoshop skills develop through practice. Start with a clear goal before you begin editing.
Use adjustment layers, masks, Smart Objects, and Smart Filters whenever possible. These tools protect the original image and make revisions easier.
You should also name and organize your layers. Groups and color labels can help you manage complex files.
Finally, save your layered Photoshop document as a PSD or TIFF. Keep a separate flattened copy for printing, sharing, or online use.
Conclusion
Advanced Adobe Photoshop combines technical knowledge with creative problem-solving. It requires more than memorizing tools or following step-by-step instructions.
Layer masks, blend modes, Smart Objects, advanced selections, and compositing provide greater control. Actions and Smart Filters can also improve speed and consistency.
Regular practice will help you understand how these tools work together. Over time, you can build an efficient workflow that supports your creative style.
Whether you edit portraits, build composites, or design graphics, advanced Photoshop skills offer many creative possibilities.