Aperture in Photography: Mastering Light and Depth of Field
Aperture Demystified: Mastering Light in the Exposure Triangle
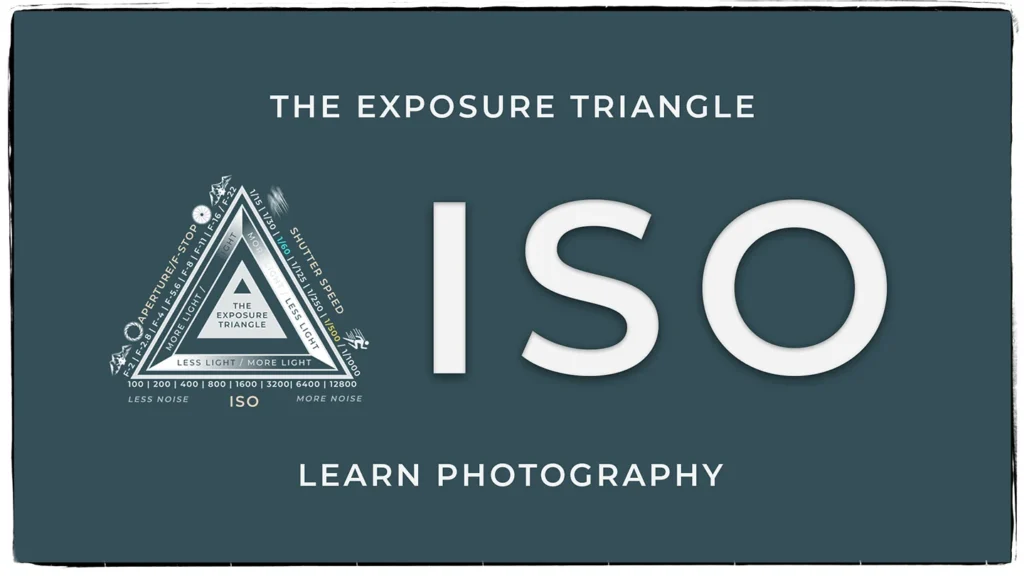
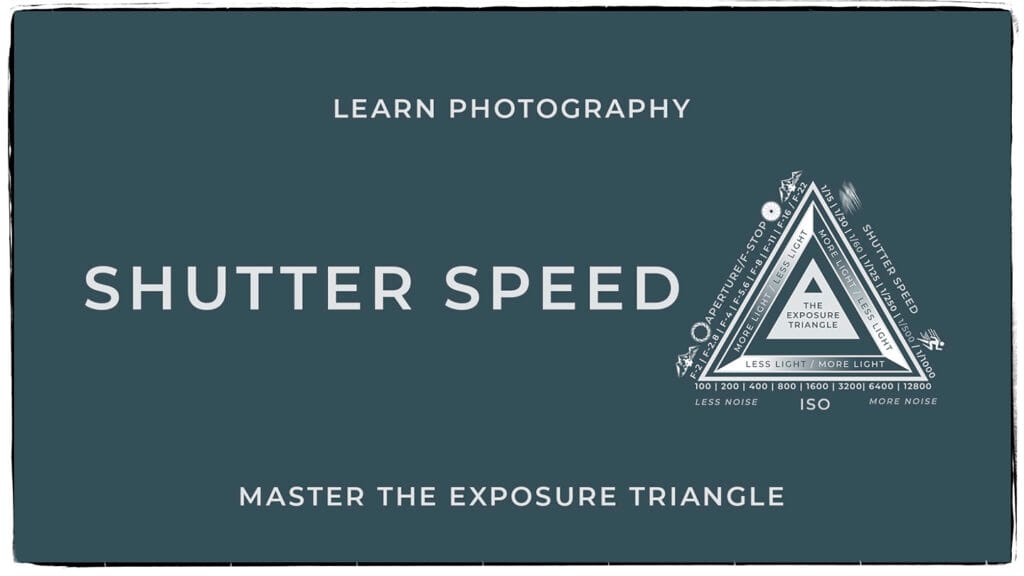
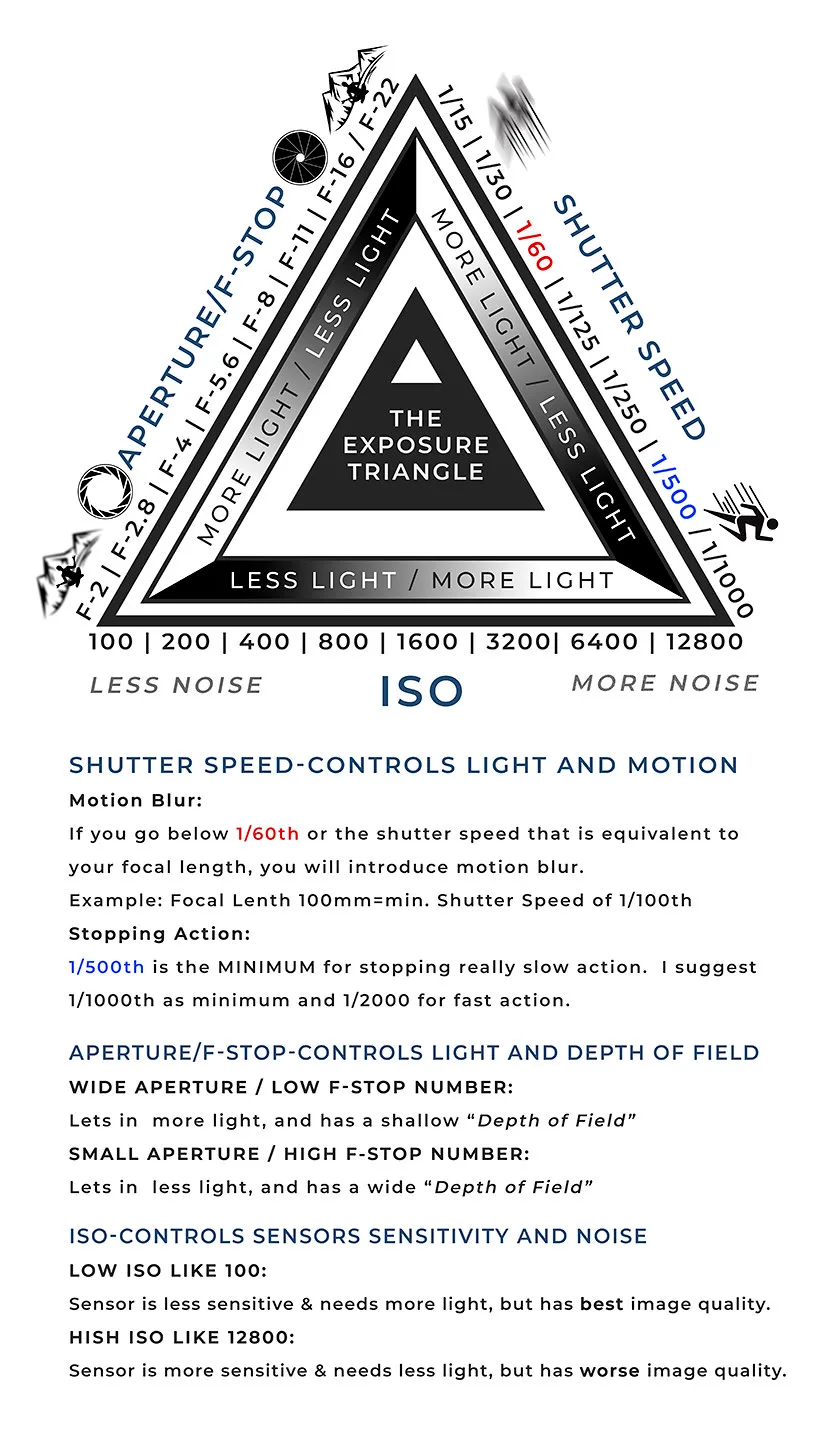
Aperture is one of the three essential parts of the exposure triangle, along with shutter speed and ISO. It controls how much light enters your camera and helps determine how much of the image appears sharp. Learning how aperture works gives you greater creative control over exposure, depth of field, portraits, landscapes, and low-light photography.
In this guide, we’ll explain aperture in photography, how f-stops work, and how to choose the best aperture for different subjects. Whether you use a DSLR or mirrorless camera, understanding aperture will help you move beyond automatic settings and create photographs with intention.
What Is Aperture in Photography?
Aperture is the adjustable opening inside a camera lens. When you take a photograph, light passes through this opening before reaching the camera’s sensor.
You can think of aperture like the pupil of your eye:
- In a dark environment, your pupil becomes larger to let in more light.
- In bright conditions, your pupil becomes smaller to limit the amount of light.
A camera lens works in a similar way. A wide aperture allows more light into the camera, while a narrow aperture allows less light to enter.
What Is an F-Stop?
Aperture is measured using f-stop numbers, such as:
- f/1.4
- f/2
- f/2.8
- f/4
- f/5.6
- f/8
- f/11
- f/16
- f/22
The relationship between the aperture opening and the f-stop number can initially seem backward:
- A small f-stop number, such as f/2.8, represents a wide aperture opening.
- A large f-stop number, such as f/16, represents a narrow aperture opening.
One way to remember this is to think of f-stops as fractions. The fraction 1/2 is larger than 1/16, just as an aperture of f/2 is larger than an aperture of f/16.
How Aperture Affects Exposure
Aperture directly affects how much light reaches your camera’s sensor.
- A wide aperture, such as f/2.8, allows more light to enter and creates a brighter exposure.
- A narrow aperture, such as f/16, allows less light to enter and creates a darker exposure.
Changing the aperture by one full stop doubles or halves the amount of light entering the camera.
For example:
- Moving from f/8 to f/5.6 doubles the amount of light.
- Moving from f/8 to f/11 cuts the amount of light in half.
When you change the aperture, you may need to adjust shutter speed or ISO to maintain the same overall exposure. These different combinations are known as equivalent exposures.
How Aperture Controls Depth of Field
Aperture also affects depth of field, which describes how much of the image appears acceptably sharp from the foreground to the background.
Wide Apertures and Shallow Depth of Field
A wide aperture, such as f/1.8, f/2.8, or f/4, can produce a shallow depth of field. Your subject may appear sharp while the foreground and background become blurred.
Wide apertures are commonly used for:
- Portrait photography
- Wildlife photography
- Detail photographs
- Food photography
- Low-light photography
- Separating a subject from a distracting background
A blurred background can help direct the viewer’s attention toward the most important part of the photograph.
Narrow Apertures and Greater Depth of Field
A narrow aperture, such as f/11 or f/16, generally creates greater depth of field. More of the scene can appear sharp from foreground to background.
Narrow apertures are commonly used for:
- Landscape photography
- Architecture
- Cityscapes
- Interior photography
- Product photography
- Images containing important foreground and background details
However, aperture is not the only factor controlling depth of field. Focal length, camera-to-subject distance, focus distance, and sensor size also influence how much of the photograph appears sharp.
Choosing the Right Aperture for Different Subjects
The best aperture depends on the available light, your subject, and the visual effect you want to create.
Here are some useful starting points:
- f/1.4–f/2.8: Low-light scenes, portraits, and strong background blur.
- f/2.8–f/4: Portraits, wildlife, events, and subject isolation.
- f/4–f/5.6: Small groups, street photography, and general-purpose photography.
- f/5.6–f/8: Everyday photography, larger groups, and situations requiring more depth of field.
- f/8–f/11: Landscapes, architecture, and scenes requiring foreground-to-background sharpness.
- f/11–f/16: Greater depth of field, long exposures, and scenes with strong foreground elements.
- f/22: Specialized situations requiring a very small opening, although image sharpness may be reduced by diffraction.
These recommendations are starting points rather than strict rules. The correct aperture is the one that produces the exposure and depth of field you want.
Understanding Full-Stop Aperture Settings
The traditional full-stop aperture sequence is:
f/1 – f/1.4 – f/2 – f/2.8 – f/4 – f/5.6 – f/8 – f/11 – f/16 – f/22
Each step changes the amount of light by one full stop.
Moving toward a smaller f-stop number opens the aperture and doubles the light. Moving toward a larger f-stop number closes the aperture and halves the light.
Most modern cameras also include one-third-stop settings, such as f/3.2, f/3.5, and f/4.5. These smaller increments give you more precise control over exposure and depth of field.
Aperture and Lens Choice
Not every lens offers the same aperture range. The widest available aperture is usually printed on the lens.
A lens marked 50mm f/1.8 has a maximum aperture of f/1.8. A zoom lens marked 18–55mm f/3.5–5.6 has a variable maximum aperture. It may open to f/3.5 at 18mm but only to f/5.6 when zoomed to 55mm.
Lenses with wide maximum apertures are often called fast lenses because they allow more light into the camera. This can make it possible to use faster shutter speeds in low light.
Fast lenses are especially useful for:
- Indoor photography
- Portraits
- Weddings and events
- Sports and wildlife
- Concert photography
- Astrophotography
What Is the Lens’s Sweet Spot?
A lens’s sweet spot is the aperture range where it generally produces its best overall sharpness. Many lenses perform especially well around f/5.6 or f/8, although this varies by lens.
Photographs taken at the widest aperture may have softer corners or reduced sharpness near the edges. Extremely narrow apertures, such as f/16 or f/22, may also reduce fine detail because of diffraction.
This does not mean you should avoid wide or narrow apertures. Creative needs are often more important than maximum technical sharpness.
What Is Diffraction?
Diffraction is a slight loss of sharpness that can occur when light passes through a very small aperture. It is usually more noticeable at settings such as f/16 or f/22, although the exact effect depends on the camera and lens.
If you need greater depth of field, using a narrow aperture may still be the correct choice. However, do not automatically use the smallest available aperture for every landscape. Settings such as f/8 or f/11 often provide a useful balance between depth of field and sharpness.
Aperture Priority Mode
Aperture Priority mode allows you to select the aperture while the camera automatically chooses a shutter speed for the exposure.
Depending on the camera brand, Aperture Priority may be labeled:
- A or Av on the mode dial
This mode is useful when depth of field is your main concern. For example, you can select a wide aperture for a portrait or a narrower aperture for a landscape while allowing the camera to adjust the shutter speed.
Always monitor the shutter speed when using Aperture Priority. In low light, the camera may select a shutter speed that is too slow for handheld photography or a moving subject.
Aperture, Flash, and Ambient Light
When using flash, aperture has a major influence on how brightly the flash-lit subject appears. A wider aperture allows more flash light to reach the sensor, while a narrower aperture reduces the flash exposure.
Aperture also affects the ambient light in the scene, but shutter speed is often used to adjust the appearance of the background without greatly changing the flash exposure—provided you remain within your camera’s flash synchronization limits.
Understanding this relationship gives you more control when balancing flash with daylight or indoor ambient light.
Creative Ways to Use Aperture
Aperture is more than a technical setting. It can help determine how viewers experience your photograph.
Try using aperture to:
- Blur a distracting background.
- Separate a portrait subject from the surroundings.
- Keep a landscape sharp from foreground to background.
- Turn distant lights into soft, out-of-focus shapes.
- Emphasize one detail within a complicated scene.
- Create a sunstar by photographing a bright point of light with a narrow aperture.
- Control shutter speed indirectly when photographing motion.
Before choosing an aperture, decide which parts of the photograph should be sharp and which parts can be blurred.
Tips for Mastering Aperture
- Focus carefully when using wide apertures. A shallow depth of field leaves little room for focusing errors.
- Focus on the nearest eye in a portrait. The eyes are usually the most important part of the image.
- Do not assume that f/22 is always best for landscapes. Try f/8 or f/11 and evaluate the depth of field.
- Watch your shutter speed. Narrow apertures may produce shutter speeds that are too slow for handheld photography.
- Move closer to create more background blur. Subject distance strongly affects depth of field.
- Increase the distance between the subject and background. Greater separation can make the background appear softer.
- Use a tripod when necessary. This allows you to use narrow apertures without introducing camera shake.
- Practice with Aperture Priority mode. Photograph the same subject at several f-stops and compare the results.
A Simple Aperture Practice Exercise
Place a subject several feet in front of a detailed background. Photograph it using the same focal length and camera position at the following settings:
- f/2.8
- f/4
- f/5.6
- f/8
- f/11
- f/16
Adjust your shutter speed or ISO as necessary to keep the exposure consistent. Then compare the images and observe how the background changes as the aperture becomes smaller.
This exercise will help you understand both depth of field and equivalent exposure.
Conclusion
Aperture is a powerful camera setting that controls light, depth of field, and the visual relationship between your subject and its surroundings. A wide aperture can isolate a subject and create a softly blurred background, while a narrow aperture can keep more of a scene in focus.
Once you understand f-stops and how aperture interacts with shutter speed and ISO, you can make creative decisions instead of relying entirely on automatic camera settings. Practice photographing the same subject at different apertures and study how each setting changes the final image.
Use my Equivalent Exposure Calculator to see how changing aperture affects shutter speed and ISO while maintaining the same exposure.