By John Whitehead · Updated October 26, 2026
One of the best things about continuous lighting is that you can watch the photograph change before you press the shutter. Move the light and the shadow moves. Bring a softbox closer and you can see the transition across the face. Turn a reflective object slightly and its highlight changes immediately.
That makes LEDs useful for learning, but they are also serious tools for portraits, products, food, and mixed photo-and-video work. The mistake is assuming that any inexpensive LED kit will do the same job as a powerful studio light. The head, its color quality, its usable output, and the attachments all affect what you can photograph.
This guide focuses on continuous LED monolights. It also explains panels and tubes so you can see where those alternatives fit. The recommendations are a feature-based buying shortlist, not a claim that every model has been independently tested.I
Why use continuous lights for still photography?
The immediate feedback is valuable. You can study the position of a catchlight, see whether the nose shadow is becoming distracting, or adjust a reflection without firing repeated test flashes. A continuous source also works while you record video. In normal continuous mode, you do not need a flash trigger, and there is no flash recycle time to wait for.
For a stationary product on a tripod, a longer exposure can make a modest light useful. For a portrait, the ability to watch the light while talking to the subject can make the process feel less interrupted. A small LED can also add a controlled accent to an existing scene.
The limitations are real
Moving people need a shutter speed that controls their movement. A tripod will not stop a hand, hair, or face from moving. When the light is weak, you may have to open the aperture, increase ISO, bring the light closer, or accept blur. A large softbox, low ISO, and an aperture such as f/8 can require considerably more light than a beginner expects.
Flash often provides a much larger exposure contribution over a short burst. It can be a better tool for action, small apertures, or competing with strong daylight. Its ability to freeze movement depends on flash duration and how much ambient exposure remains. Continuous light does not automatically replace flash.
Powerful LEDs can also be uncomfortable to look toward, and cooling fans may become audible during video. The camera preview is helpful, but it is not a calibrated exposure meter. Check the histogram, highlight warnings, and actual files.
What is an LED monolight?
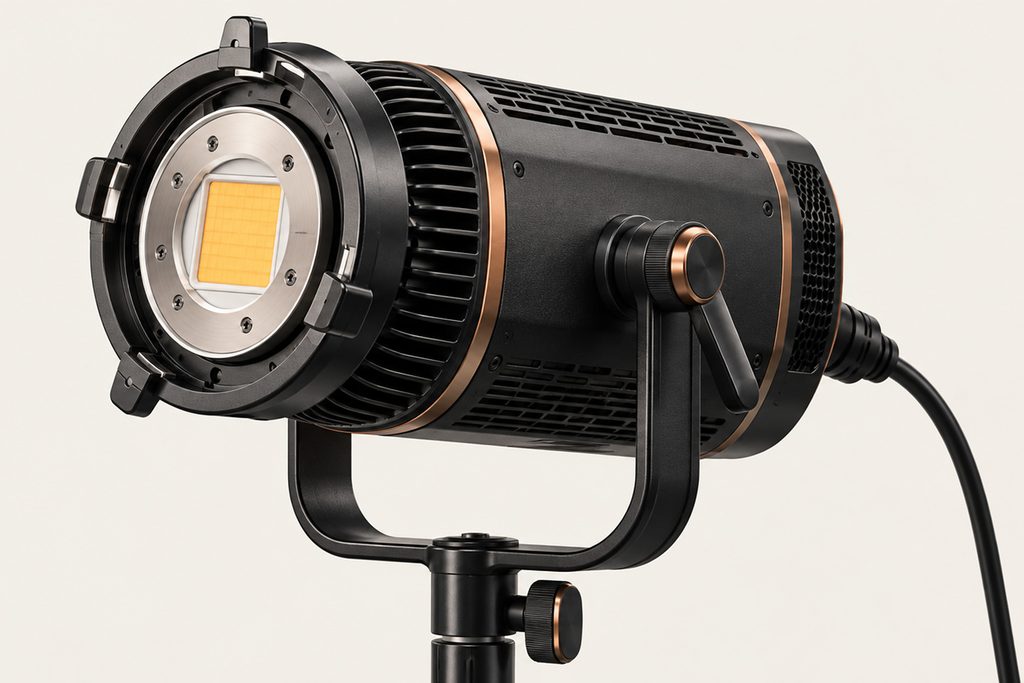
A monolight-style LED is a compact studio head that produces continuous light and accepts light-shaping accessories. Many use a COB, or chip-on-board, light engine: multiple LED dies form a compact emitting area. That small apparent source is useful because you can turn it into a broad soft source with a softbox or concentrate it with compatible optics.
Some fixtures place the controls and power conversion in the head. Others have an external power supply or a separate controller. Those are different arrangements: an external power brick does not necessarily give you controls on the floor. Check the actual layout, cable length, and what comes in the box.
Physical design | Benefits | Limitations | Good applications |
|---|---|---|---|
COB / point-source head | Wide modifier choice; can make soft or direct light | Bare emitter is intense; cooling and modifier support matter | Portraits, products, controlled studio lighting |
Panel or flexible mat | Broad emitting surface; often less depth than a COB with a box | Less suitable for tightly focused optical effects; accessories can be proprietary | Small rooms, interviews, broad fill |
Tube or wand | Long reflections; convenient accents; can appear in the scene | Limited primary-light output; mounting and battery life vary | Backgrounds, color accents, practical lights |
Ring light | Convenient near-axis illumination | Distinctive ring reflection; limited modeling when used around the lens | Specific beauty looks, close demonstrations |
Compact battery COB | Portable for close subjects and small setups | Runtime and output caps; smaller proprietary mounts are common | Travel, close portraits, details |
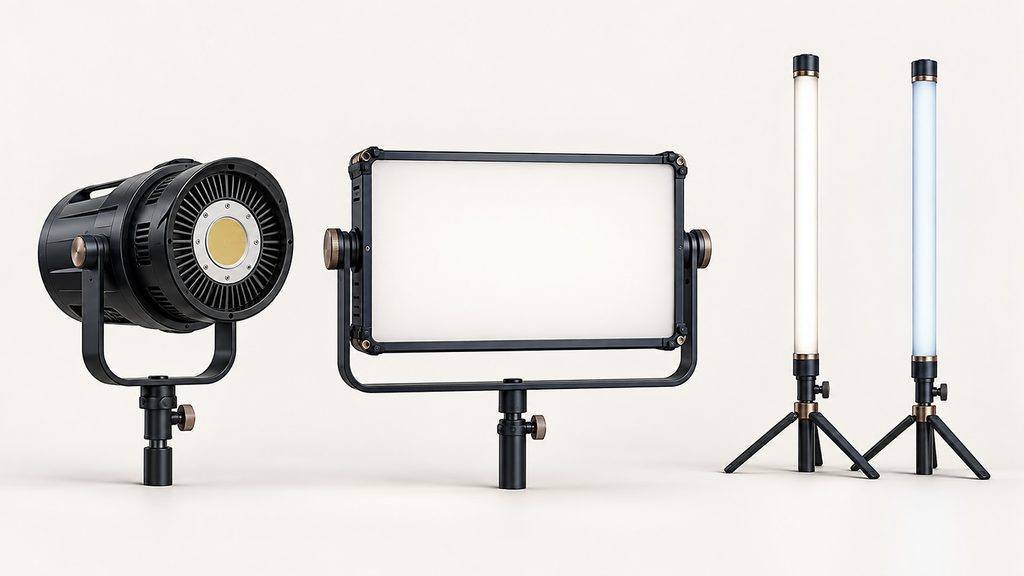
A panel is not automatically soft, and a COB is not automatically harsh. What matters is the size of the illuminated source as the subject sees it. A small panel across the room can produce relatively hard light. A large diffuser close to the face can create a much softer transition.
Daylight, bi-color, and full-color heads
Daylight only: a simple choice for a controlled studio
A daylight fixture usually aims for approximately 5600 K. It makes sense when your other lights and workflow already use daylight-balanced sources. You can concentrate your budget on useful white-light output instead of color modes.
The disadvantage appears in a warm room. You may need a correction gel, a different ambient-light strategy, or a deliberate mixed-color look. A camera white-balance adjustment changes the rendering of the entire image; it cannot independently correct every lamp illuminating the subject. Daylight designs can offer good output for the price, but do not assume they always outperform a newer bi-color fixture.
Bi-color: a useful general-purpose starting point
Bi-color, also called tunable white, lets you adjust the white light from warmer to cooler. This is helpful when moving among rooms, balancing with practical lamps, or choosing a subtle warm or cool look. A common range is approximately 2700–6500 K, although models vary.
The tradeoff is that output may change across the Kelvin range. Some lights offer a maximum-output mode and a more consistent-output mode. Compare the settings you will actually use. The label “bi-color” also does not guarantee green–magenta tint control.
Full color: useful when color is part of the photograph
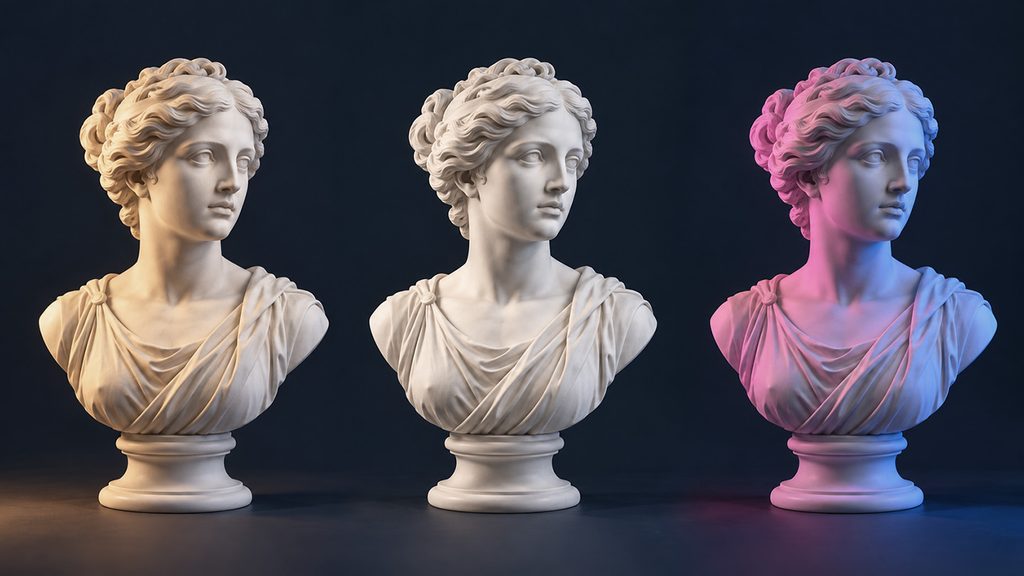
RGB and multichannel heads add hue and saturation control. Labels such as RGBWW and RGBACL describe different emitter combinations, but manufacturers do not all use identical systems. These fixtures can add color to a background or edge without repeatedly changing gels.
Full-color capability costs money and adds controls. Deep saturated colors may provide much less usable exposure than white mode. A light with more color channels is not automatically better for skin or accurate product color. Evaluate its white-light performance separately.
Premium tunable-white engines complicate the labels
Some high-end white-light fixtures use several emitter colors internally to improve spectral performance or tint adjustment. For example, Aputure’s STORM 400x uses its BLAIR engine and offers limited color controls. Read what the actual modes can do rather than assuming that every multichannel engine is equivalent to a full-color RGB light. My starting recommendation: For general indoor portraits and small products, investigate a capable bi-color Bowens head first. Choose full color when colored lighting is part of the work you intend to make.
Power: why watts and lux can mislead you
Watts describe power, not the exposure at your subject. A fixture’s advertised class may refer to LED power rather than total consumption. Check the specification. Flash ratings in watt-seconds measure energy per burst, so a 200 W LED and a 200 Ws strobe are not directly comparable.
Lux measures light arriving at a surface. It is useful only when the conditions are clear: distance, color setting, beam angle, and accessory. A tight reflector can produce a very high reading in the center while covering a much smaller area.
The amaran 200x S page, for example, lists maximum figures of 6,400 lux at one meter without an accessory and 45,400 lux with its Hyper Reflector. Those numbers describe the same lamp under different shaping conditions. Neither tells you how much light reaches a face through your particular softbox.
Exposure still follows familiar rules
With continuous light, shutter speed affects the LED exposure just as it affects window light. If 1/125 second at f/4 and ISO 400 gives the exposure you want, moving to 1/250 second makes it one stop darker. Raising ISO to 800 restores the brightness, with the usual image-quality tradeoff. These are examples of equivalent exposure, not universal settings.
Moving the light farther away also reduces illumination. In an ideal small-source model, doubling the distance gives one quarter of the illuminance, a two-stop loss. A large close softbox, a focused beam, and room reflections can depart from that simple model. Moving a softbox also changes softness, falloff, and reflections.
How much power should you buy?
A roughly 200–300 W class head is a reasonable place to begin comparing general indoor portrait lights, but it is not a guarantee. A small stationary product may need much less. A group at f/8 beside bright windows may need far more. Test the intended distance and modifier, then leave some reserve instead of planning to run every photograph at the limit.
Why use continuous lights for still photography?
Color quality, white balance, and flicker
CRI and TLCI can help screen products, but a single high score does not prove that every color will photograph accurately. SSI, developed by the Academy, compares a light’s spectrum with a reference. Read which reference is being used before comparing scores.
Two lights set to 5600 K may still differ in tint or in how they render fabric and skin. A gray card helps establish a neutral reference, but white balance cannot recover spectral information that the light did not provide. RAW gives you flexibility later; it does not remove the value of good light at capture. For JPEG, establish the intended white balance before photographing.
Some LEDs also flicker rapidly, even when your eyes see steady illumination. Electronic shutter readout can turn that into dark bands or uneven color. Nikon’s high-frequency flicker guidance explains why fine shutter adjustment may help on supported cameras. A mechanical shutter is not a universal cure.
Test the lamp at bright and dim settings, with the shutter speeds and camera modes you use. For video, also test the intended frame rate and shutter setting. “Flicker-free” on a listing should not replace a practical test.
The attachments matter as much as the head
A light becomes useful when you can control its size, direction, and spread. Most modifiers trade some output for that control. Budget for them from the beginning.
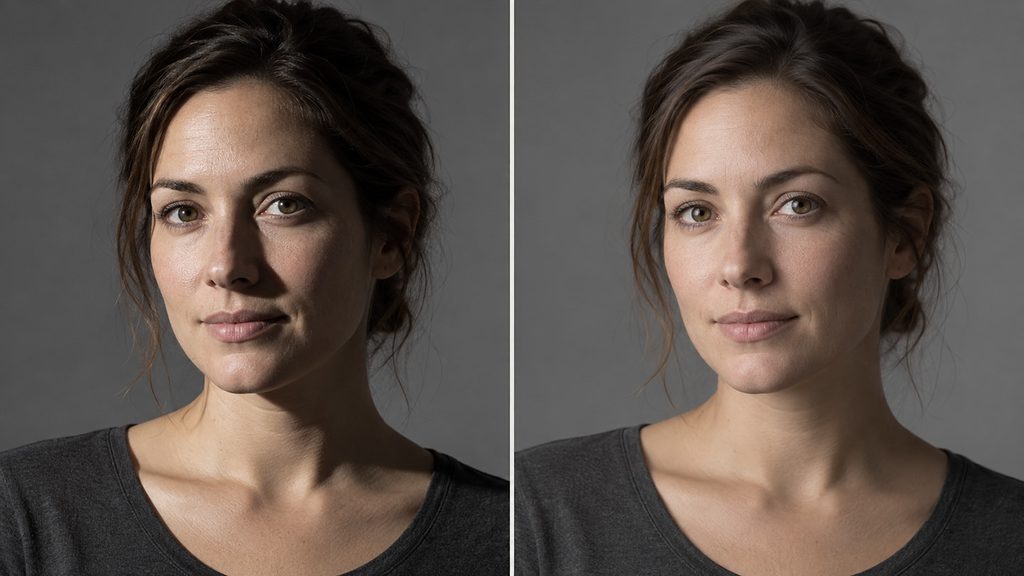
Hard and soft describe shadow transitions. Contrast describes the brightness difference between light and shadow. A large soft source can still produce deep shadows when there is little fill. Adding a grid does not automatically turn a softbox into a hard source.
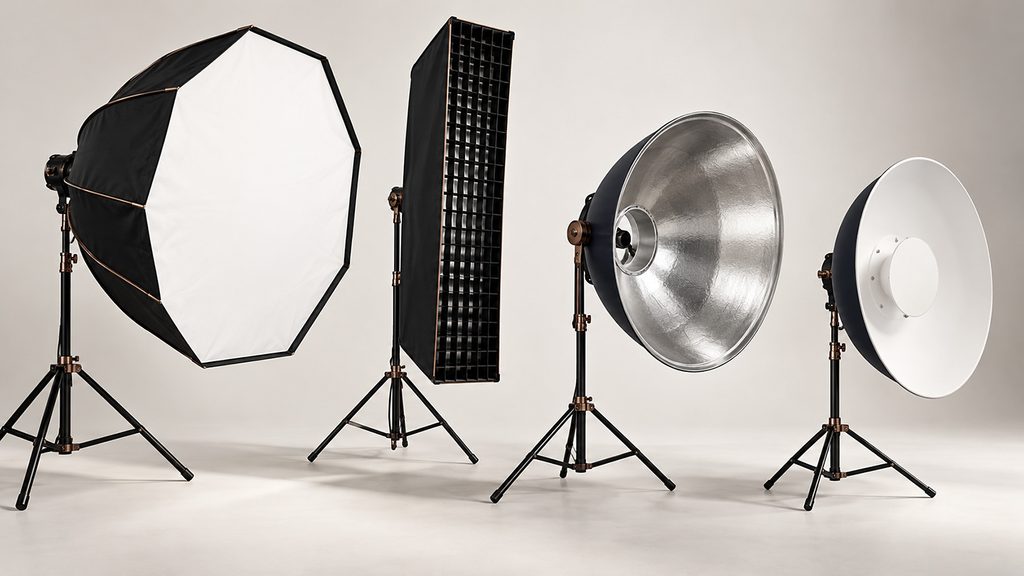
Attachment or tool | What it does | When to use it | Tradeoff |
|---|---|---|---|
Softbox / octabox | Creates a larger diffused source | Portraits, food, broad product reflections | Output loss; size and setup space |
Stripbox | Creates a long, narrow luminous surface | Edge lighting and long reflections on bottles or metal | Placement is sensitive; narrower coverage |
Fabric grid | Restricts spill from a softbox | Keeping light off the background or side walls | Some light loss; no sharply focused outline |
Umbrella | Spreads bounced or transmitted light | Fast, inexpensive broad illumination | Spill and wind sensitivity |
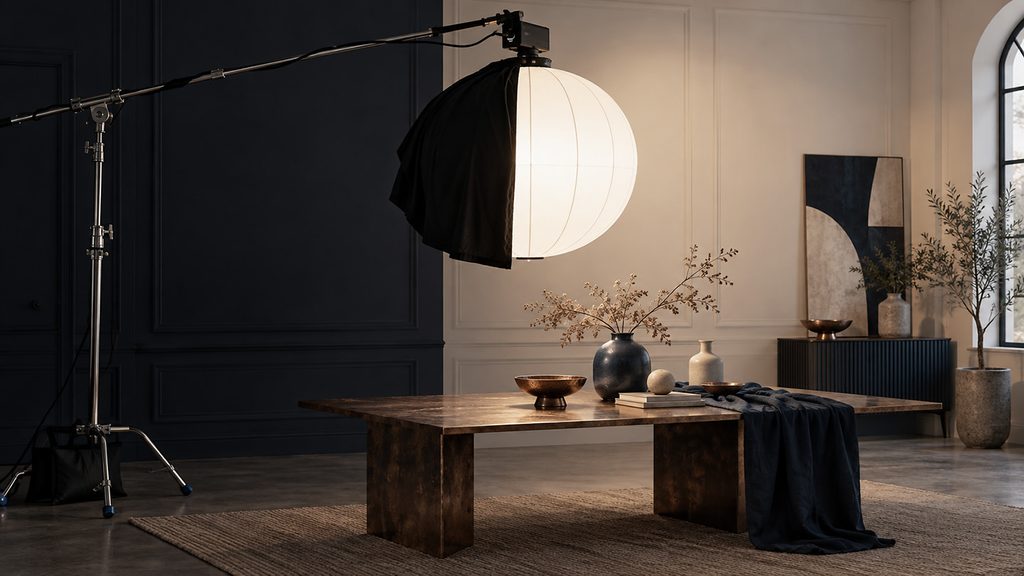
Lantern and skirt | Broad surrounding light, with partial spill control | Groups, movement, room fill | Harder to isolate a face or dark background |
Metal reflector / honeycomb | Concentrates light and limits its spread | Direct portraits, accents, background pools | Harder light; coverage varies |
Beauty dish | Redirects light around a central deflector | Defined portrait lighting | Distance and placement strongly affect the look |
Fresnel | Adjusts beam spread from spot toward flood | Controlled directional light | Heat and optical compatibility restrictions |
Snoot / barn doors | Narrows light or trims spill | Small accents and background control | Limited precision compared with projection optics |
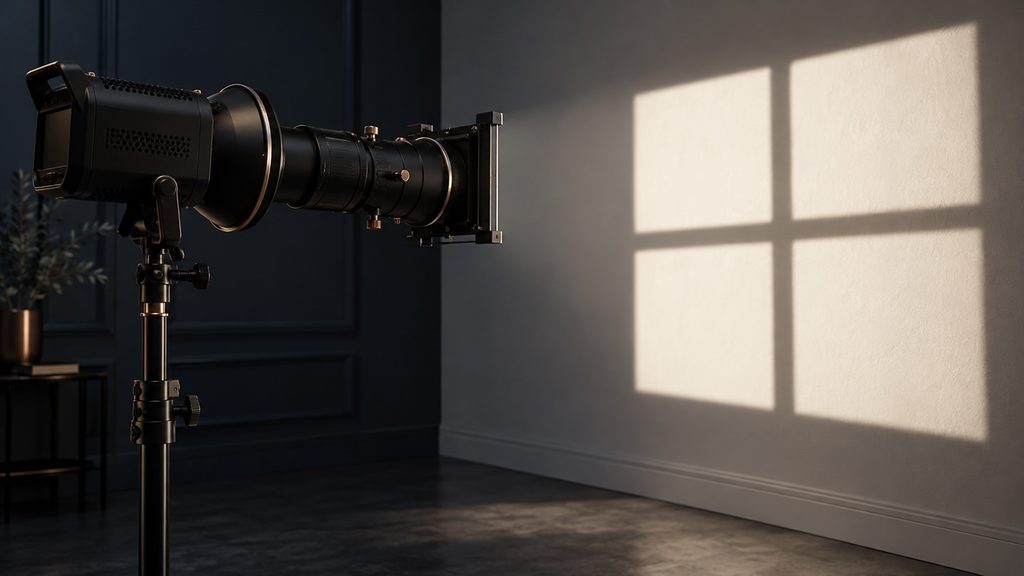
Projection attachment / gobo | Focuses a pattern or shaped patch of light | Window patterns, crisp edges, theatrical portraits | Light loss, weight, exact model compatibility |
Gels | Correct or creatively change color | Matching ambient or coloring an accent | Output loss; approved heat-safe mounting needed |
Flags, white bounce, black negative fill | Blocks, redirects, or subtracts light | Controlling contrast without another lamp | Requires stands or safe support and room |
For a first portrait setup, a 90–120 cm softbox or octabox with a grid is often more useful than a box of specialized accessories. Bring it close enough to become a large source relative to the face. Feather it by aiming the edge of the light across the subject when that gives a better result. A reflective subject may benefit more from a rectangular diffusion surface than a round catchlight.
The Light Dome III documentation is a useful real example of separate diffusion choices and a fabric grid. Different diffusion densities change output. Evaluate the photograph rather than assuming that more diffusion is always better.
Why a common Bowens mount can save money
Bowens S is a widely used mechanical attachment system. Standardizing compatible lights around it lets you move a softbox, reflector, or other suitable modifier among different heads. Some modifiers can work with both LEDs and strobes. You can replace a lamp without automatically replacing the accessories you already like.
Here is an illustrative example, not a current shopping quotation. Suppose a softbox with grid costs $150 and a stripbox with grid costs $100. Buying that pair for two incompatible systems costs $500. Sharing one compatible pair costs $250. The saving assumes you use each modifier on one light at a time. If both lights need a softbox simultaneously, you still need two.
Interchangeable speed rings can also extend the life of a softbox. Consider those before throwing away useful accessories. Bowens standardization is most valuable when it reduces duplication without forcing you into a light that does not meet your actual needs.
Physical fit is only the beginning
Bowens does not standardize apps, flash triggers, batteries, or power cables. It also does not guarantee that every optical attachment will work safely and evenly on every head. Emitter position, light mixing, clearance, heat, and weight matter.
A concrete example: Aputure excludes its smaller Fresnel 2X from the LS 600d Pro and recommends the larger F10 instead. An attachment fitting the mount does not override those restrictions. Likewise, an adapter on a compact light may support a softbox without making every Fresnel or projector appropriate. Confirm the exact combination before buying.
AC power, batteries, fans, and safe handling
AC is convenient for a fixed studio. Batteries offer freedom on location, but the required voltage, discharge capability, and number of batteries vary. Some lights reduce maximum output on particular battery configurations. Include batteries and chargers when comparing total cost.
A simple runtime estimate is watt-hours divided by total watts drawn. A 99 Wh battery supplying 200 W gives about half an hour in an ideal calculation. Conversion losses, electronics, battery limits, and actual usable capacity reduce real runtime. It is a planning calculation, not a promise.
Listen to the fan after the light has warmed up. A quiet mode may reduce output. Keep vents clear, support the power supply according to its instructions, and check whether the head can tilt comfortably with your softbox attached. Sandbag stands, keep cables out of walkways, and use appropriately rated grip for overhead work. Do not look directly into a powerful bare COB, and let hot accessories cool before handling them.
Good brands, affordable brands, and what to avoid
I would compare individual models rather than treat a logo as a guarantee. The following brands have documented lighting systems worth investigating. Their ranges overlap, and a company can sell both entry-level and professional products.
Brand / range | Why it belongs on the shortlist | What to watch |
|---|---|---|
Professional controls and accessory options; premium engines in selected models | Higher prices, size, and model-specific accessory restrictions | |
Accessible COB options for smaller studios and creators | Stock, generation, mounting limits, and whether you need professional connections | |
Useful value comparisons for studio and general work | Power arrangements and controls differ among ranges | |
Production-oriented options; the 300B II includes tint adjustment and battery capability | Controller and battery costs; check the complete configuration | |
Budget comparisons with a broad lighting catalog | Fan behavior, exact mount, model generation, and dealer support; KNOWLED is a separate higher tier | |
COB options to compare with other affordable heads | Specifications and power options differ by generation | |
A model-by-model budget comparison with published product information | Verify noise, output conditions, returns, and support for the exact purchase |
A few current price anchors
Official U.S. pages checked October 26, 2026 displayed the Nanlite FS-300B at $199 on sale, the Forza 300B II at $999, and the Aputure STORM 400x at $1,059. The amaran comparison page displayed the 200x S at $249 but marked it sold out. These are snapshots of particular listings, not guaranteed checkout prices or equivalent kits. Verify the selected version, included accessories, stock, tax, and shipping. Do not build a kit budget around an unavailable sale.
Brands to stay away from?
I would not give you a blanket blacklist without reliable evidence. A low price does not prove that a light is unusable, and a familiar brand does not make every model appropriate. What I would avoid is an anonymous head with no usable manual, no clear service contact, vague electrical specifications, or a listing that substitutes “equivalent watts” for meaningful output data.
I would also avoid buying a bundle simply because it contains several lights. Weak stands, tiny modifiers, an unclear mount, and missing replacement parts can make the package more expensive to use. A single well-chosen head with a suitable modifier is a better foundation than several lights that cannot produce the look or exposure you need.
Three practical ways to use the system
Portrait: one large source and a deliberate shadow side
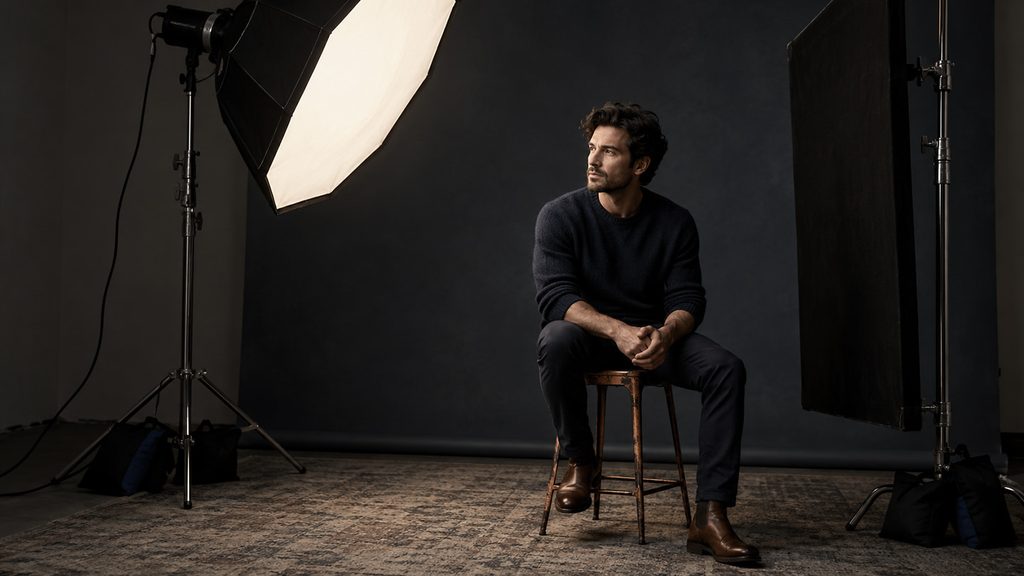
Begin with a softbox roughly 30–45 degrees to one side and slightly above eye level. Those are starting positions, not rules for every face. Bring the source close, watch the nose and cheek shadows, and set shutter speed for the person’s movement. Use white bounce if the shadow side needs opening. Use black negative fill if the room is bouncing too much light back into the face.
Product: shape the reflection
On a glossy product, you are often photographing the reflection of the light source. A stripbox creates a different highlight from an octabox. A large diffusion panel between the lamp and product can give you finer control. Move the source and diffusion surface while watching the reflection. For a stationary subject, a tripod and longer exposure can let a modest LED do useful work.
Creative portrait: neutral key, colored background
Use a white-light source for the face and a separate RGB light or safely gelled light on the background. Separate the subject from the background and control spill before increasing saturation. If color reaches the face unintentionally, flags, grids, or repositioning may solve the problem more cleanly than editing it afterward.
What I would buy first
For an indoor portrait and small-product kit, I would start with one capable bi-color head, a common modifier mount, a useful softbox with grid, and a stand that comfortably supports the combination. Add a sandbag, white bounce, black negative fill, a gray card, and proper cable management. Buy the second light when you can explain the job it needs to do.
Before the return window closes, test skin, a colored object, and a neutral card. Try the dimming range and your usual shutter speeds. Run the lamp long enough to assess cooling noise. Check the mount lock, cable reach, tilt clearance, and replacement power supply availability.
The right LED is the one that lets you make the photograph you want at workable camera settings. Choose the light, modifier, and support as a system. That is where useful control—and long-term value—comes from.
About the illustrations: Equipment scenes and lighting comparisons in this guide are AI-generated teaching illustrations. They do not depict exact manufacturer products or measured tests. Product claims link to official documentation. Buying recommendations are editorial judgments.
Further reading: Academy SSI · LED color mixing and optical accessories · Nikon flicker guidance