The Key to Editing: Adobe Camera Raw Selective Adjustments
Part 2 of 4
What is in this Video Tutorial
Really make sure you fully understand how to make selective adjustments before proceeding. However, in the next video I will cover the selective adjustments, people more in depth, object selection, radial gradient, linear gradient, color selections and luminance selections.
Adobe Camera Raw Selective Adjustments, are the key to editing in photography. In part one, we focused on global adjustments where adjustments affect the whole image. This is part #2 of a 4 part series on Adobe Camera Raw. I will cover the basic layout of the program, how to use MASKING to make selective adjustments in Adobe Camera Raw.
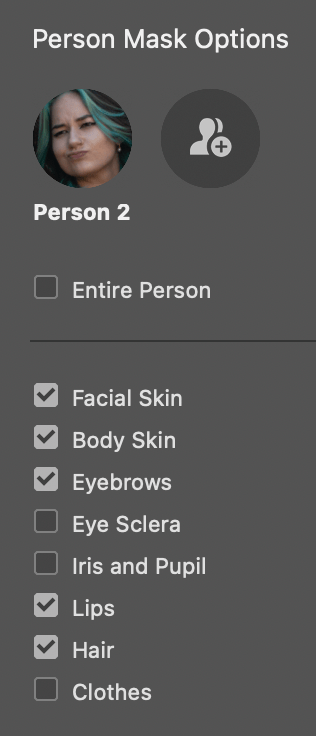
Selective adjustments use masks to select specific areas of an image to apply an adjustment. We take a look at subject selections, sky selections, background selections, people selections and the brush. ACR masks are used just like in Adobe Photoshop to make layer adjustments.

Adobe Camera Raw relies heavily on AI to make selections such as people, sky, background and people. It can literally select someone’s lips or eyebrows. Selections can be refined by using the brush to either add or subtract from a mask or selection. Masks can be inverted and duplicated so pay close attention to the video.


