New Adjustment Brush & Manual Selective Adjustments in Adobe Photoshop

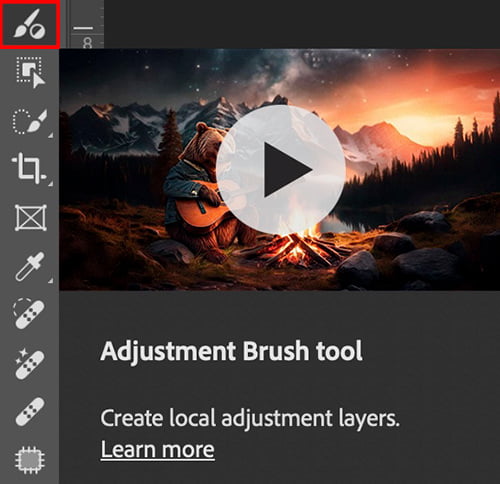
The New Adjustment Brush in Adobe Photoshop
The new Adobe Photoshop Adjustment Brush is a powerful tool designed to give users more precise control over specific areas of an image when applying adjustments like exposure, contrast, color balance, or other effects. Unlike global adjustments that affect the entire image, the Adjustment Brush allows you to selectively paint adjustments onto specific parts of an image, making it easier to fine-tune details or highlight certain elements. This tool is particularly useful for photographers and designers who need to make localized corrections or enhancements, ensuring that their edits blend seamlessly with the rest of the image.
The adjustment brush does not do any new, it is just a more intuitive, and dedicated method manual selective adjustments.
Manual Selective Adjustments in Adobe Photoshop
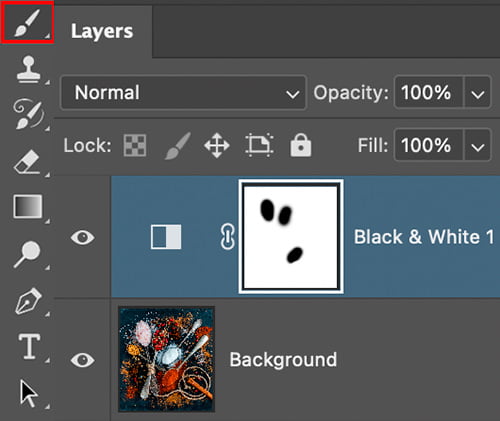
To make a manual layer adjustment in Adobe Photoshop, you need to first create an adjustment layer. Second, select the brush which is the letter “B” on the keyboard. Third, you will wither apply the color white or black into the MASK not the adjustment. In the image to the right, black was applied to the image to keep those areas in color. However, you can invert a white mask to make it black and then apply white to reveal or show the adjustment. This can be confusing at first, but I assure you it is really easy.


