By John Whitehead
According to parts of the internet, shooting in manual mode is an outdated ritual practiced by photographers who also insist on grinding their own coffee beans with a rock.
Apparently, cameras are so smart that making your own exposure decisions is now suspicious behavior.
I disagree. But I am not handing out medals for turning three dials, either. Aperture priority and shutter priority are useful tools. A good photographer can make strong photographs with either one.
The reason to understand the exposure triangle and learn manual exposure is control over the photograph. You choose how much of the scene appears sharp, how movement looks, which tones hold detail, and what the viewer notices. Those decisions matter far more than winning an argument about the letter on your mode dial.
When I want automation while keeping control of both aperture and shutter speed, my preferred approach is Manual mode with Auto ISO. I choose the visual priorities. The camera handles an adjustment I am willing to delegate.
A technically usable exposure is essential. It is also only the beginning.
A correctly exposed photograph can still have a distracting background, the wrong depth of field, unintentional motion blur, weak light, and absolutely nothing interesting happening.
Congratulations. The histogram is thrilled. Everyone else has moved on.
Once I establish an exposure that preserves the information I need, I want my attention on the photograph: light, timing, framing, gesture, background, movement, and balance. The purpose of learning exposure is to stop struggling with it so I can make those decisions deliberately.
A usable exposure gets you a file. Deliberate choices make it a photograph.
“Exact exposure” does not mean there is one compulsory brightness for every scene. A silhouette and a detailed face can both be intentional interpretations of the same backlit subject. It means I establish a capture that serves my intended result, rather than accepting an accidental compromise.
Your camera’s built-in meter evaluates light reflected by the scene and arriving through the lens. It does not directly measure the light falling onto your subject. A handheld incident meter, used at the subject, measures that incoming illumination instead.
This difference matters because reflected brightness depends on both the illumination and the surface. A dark surface in strong light and a light surface in weak light can produce similar readings.
A basic reflected-light reading places the metered area near a calibrated middle tone. The familiar “18% gray” explanation is a useful teaching shortcut, not a claim that every camera calculates exposure using precisely the same reflectance value.
Modern evaluative or matrix systems can consider multiple areas, contrast, color, faces, or recognized subjects. They often perform very well. The meter is not “almost never accurate.” Its measurement can be accurate while its recommended interpretation differs from yours. It measures reflected light; it cannot reliably decide how you want the photograph to feel.
The camera can recognize a face. It still has not read your creative brief.
White an become gray
When a bright white subject dominates the reading, a meter may recommend too little exposure for the white tone you intend. Snow can look dull. A white wall can look gray. The subject reflects a lot of light, and the camera’s exposure calculation may interpret that as a reason to darken the capture.
Positive exposure compensation can help in an automatic exposure mode. In full manual with fixed ISO, you adjust the actual settings. Start conservatively and check important highlights rather than assuming a universal correction. I prefer to expose on “the dark side” if I’m unsure of the exposure.
Black can become gray, too
When a black subject dominates the reading, the reverse can happen. The camera may recommend too much exposure for the dark tone you want, brightening black material toward gray. Negative compensation, or a deliberate reduction in manual exposure, may preserve its appearance.
This does not mean every black object in a photograph causes overexposure, or that every white object causes underexposure. What matters is which areas influence the reading and how the metering system interprets them.
Scene influencing the meter | Possible result | Your decision |
|---|---|---|
Mostly white snow or fabric | White looks too dark | Increase the exposure target while checking highlight detail |
Mostly black fabric or a dark background | Black looks too bright | Reduce the exposure target while keeping wanted shadow detail |
Bright background behind a face | Face looks too dark for your intention | Choose face detail, a silhouette, added light, or a different composition |
These are interpretation problems. The solution starts with deciding what should be bright, what should be dark, and which detail matters.
If you turn the dial to M and then adjust everything until the indicator reaches zero, you may simply be performing the camera’s automatic exposure calculation by hand.
You have become a very expensive motorized thumb.
The meter is a reference. Zero means agreement with its current recommendation, not proof that the photograph matches your intention. A deliberately dark scene may require a negative indication. A bright scene may require a positive one.
This is where full manual exposure earns its place. Under steady illumination, I can establish the exposure and keep it consistent while the background changes. A portrait subject moving in front of a white wall and then a dark doorway should not automatically become a different brightness if the light on the subject stays the same.
Reframing alone can alter a reflected-meter reading. Fixed aperture, shutter speed, and ISO prevent that reading from changing the exposure without my involvement. If the actual light changes, I reassess.
Digital capture shares an important practical lesson with slide film: important highlights can become difficult or impossible to recover when exposure goes too far. A white shirt with texture and a featureless white patch are not interchangeable. Your eye naturally moves to brightest area of the image. This can work in or against your favor.
Digital RAW and slide film do not have identical exposure latitude. Many RAW files tolerate substantial tonal adjustment, especially in shadows, with results that depend on the camera, ISO, scene, and how much light was captured.
RAW processing can reveal information that a JPEG rendering hides. Sometimes usable information remains in unclipped color channels. It cannot reliably restore original detail when the relevant sensor data have fully clipped. An exposure slider cannot retrieve information the camera never recorded.
Lightroom is excellent software. It is not a time machine with a Highlights slider.
Check the histogram, RGB channels where available, and highlight warnings. Treat the rear-screen appearance cautiously: display brightness and viewing conditions can mislead you. Most in-camera histograms reflect a processed preview rather than a direct display of RAW sensor values. Learn how your camera’s warnings relate to your RAW files.
Protect highlights that matter. A tiny specular reflection or a visible light source may legitimately clip. A face, wedding dress, or textured cloud deserves a more considered decision. A histogram does not have to form a perfect hill in the middle to represent a successful photograph.
Aperture decides how much depth-of -field you have to work with
Aperture affects the light reaching the sensor and contributes to depth of field. I choose it partly because of what I want the viewer to notice.
Do I want one eye and a soft background? Two people at slightly different distances? A landscape with convincing foreground-to-background detail? Focus distance, subject distance, focal length, sensor format, and the intended viewing size also influence the result. Stopping down indefinitely is not a free sharpness upgrade; diffraction eventually becomes a consideration.
Shutter speed decides how time appears
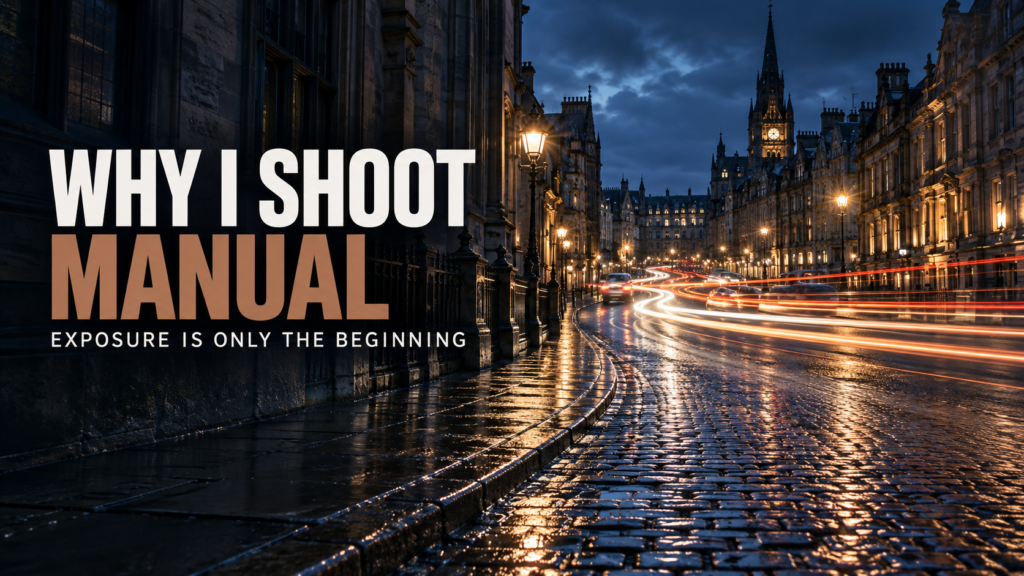
A fast shutter can freeze a gesture. A slower shutter can describe movement. Panning can keep a moving subject relatively sharp while streaking the background. A tripod can turn traffic into light trails.
Those are different photographs, even when their overall brightness matches. Image stabilization can reduce camera shake, but it does not freeze a running person or a flower moving in the wind.
ISO helps manage the capture and its rendering
ISO belongs in the familiar exposure triangle, but it does not open a larger hole or leave the shutter open longer. With scene light, aperture, and shutter speed fixed, raising ISO does not put more photons on the sensor. It affects the camera’s signal handling and brightness calibration, with implementation varying by camera.
Higher ISO can be a sensible compromise when the motion and depth-of-field requirements leave little room to gather more light. Image quality depends heavily on the light captured, not just the ISO number. At higher settings, usable highlight headroom often decreases, and low-light images may show more noise.
I would usually rather have a properly timed, sharp photograph at ISO 3200 than an unintentionally blurred photograph at ISO 100. Nobody has ever admired a missed expression because its noise performance was magnificent. Today’s digital cameras can produce excellent images even at high ISO’s.
Focal length and camera position decide what belongs in the frame
Focal length is not a fourth exposure-triangle setting. It controls angle of view and influences framing and the appearance of background blur. A wider view can explain the environment. A narrower view can exclude distractions.
Camera position controls perspective. When you switch to a longer lens and step back to maintain similar subject framing, the changed viewpoint alters the apparent relationship between foreground and background. The lens did not physically pull the mountains forward.
I think about focal length and position alongside exposure because the photograph needs both a useful capture and a deliberate composition.
Settings at ISO 400 | Nominal exposure | Different visual possibilities |
|---|---|---|
1/1000 second at f/2.8 | Equivalent | Stronger motion freezing, shallower depth of field |
1/250 second at f/5.6 | Equivalent | More depth of field, less ability to freeze fast movement |
1/125 second at f/8 | Equivalent | More depth of field again, greater risk of movement blur |
Assume the same scene light and lens transmission. These familiar rounded settings give approximately the same exposure. They do not give the same photograph.
When light changes quickly and both motion and depth of field matter, I often prefer to lock in aperture and shutter speed and let ISO respond.
Suppose I am photographing a walking subject. I choose 1/500 second to help control movement and f/4 for the depth of field I want. In M with Auto ISO, those choices stay in place while the camera adjusts ISO toward its metered target, within its available range. On compatible cameras, exposure compensation lets me bias that target brighter or darker.
That is still automatic exposure control. Calling the mode “Manual” does not make Auto ISO stop being automatic. The benefit is choosing which variable the camera may change.
In aperture priority, changing light may force a shutter speed I do not want. In shutter priority, the camera may choose an aperture that changes my depth of field. Either can work well, especially with sensible Auto ISO settings, but M with Auto ISO directly protects both of those visual decisions.
It is a clear division of labor. I choose the picture. The camera does the bookkeeping.
For an illustrative three-stop drop in light, the same 1/500 second and f/4 might require ISO to rise from 200 to 1600 to maintain a similar rendered brightness. That is a useful adaptation when changing shutter speed or aperture would compromise the image.
Auto ISO uses the meter. It can therefore react to a white background, a dark shirt, or a change in framing even when the light on your subject has not changed. It does not solve the interpretation problem we discussed earlier.
Exposure compensation, AE lock where appropriate, or switching to fixed ISO can keep that behavior under control. Nikon and Canon document compensation with Auto ISO in M on supported cameras, but you must verify your own model.
It also has limits. If ISO reaches its ceiling in dim light, the camera may no longer reach the target brightness. If it reaches its minimum in bright light, your chosen aperture and shutter may still admit too much light. Watch the exposure warning rather than assuming the camera has everything covered.
At that point, change the light, reconsider a setting, or use an appropriate neutral-density filter for excessive brightness. ISO automation cannot remove light that has already overwhelmed the capture.
For studio strobes, a fixed ISO is usually my clearer starting point. Flash output and ambient exposure need deliberate coordination, and Auto ISO behavior with flash varies. For a tripod landscape or a carefully planned long exposure, I also prefer to choose ISO myself.
Situation | A sensible starting approach | Reason |
|---|---|---|
Steady light, changing backgrounds | Manual + fixed ISO | Consistent exposure without meter-driven changes from reframing |
Changing light, critical motion and depth of field | Manual + Auto ISO | Protect both visual settings while delegating ISO |
Depth of field is the main concern | Manual + fixed ISO | Accurate exposure and control as long as lighting isn’t changing |
A specific motion effect is the main concern | Manual + fixed ISO | Accurate exposure and control as long as lighting isn’t changing |
Controlled studio flash or long exposure | Manual + fixed ISO | Predictable settings for a deliberate setup |
Every mode involves decisions and limits. Manual is not automatically superior, and automation is not automatically a mistake. The mistake is surrendering a setting that matters without noticing what it does to the photograph.
Place a matte white card and a matte black card in the same steady light. Avoid glare. Keep the camera position and angle consistent.
- With fixed ISO and a reflected reading dominated by each card, make separate photographs following the meter’s zero recommendation. Spot metering makes the demonstration easier to isolate.
- Compare the recommended settings and the cards’ rendered tones. Modern evaluative metering may moderate the effect.
- Use a suitable gray reference in that same light, or an incident reading, to establish a starting exposure.
- Set that exposure manually with fixed ISO and photograph both cards again. Check that the white retains the detail you want.
- Keep the exposure fixed and change only the framing. Notice that the meter can move even though the settings and illumination stay the same.
Then photograph a moving subject with two equivalent exposure combinations. Keep the brightness similar and change shutter speed and aperture together. Look at the movement and background, not just the histogram.
That is the point of learning the exposure triangle: understanding what you trade away when you turn a dial.
I teach manual exposure because I want photographers to understand what their choices do. Once exposure becomes familiar, it stops occupying every spare brain cell.
That leaves room to notice the expression, wait for the gesture, simplify the background, move into better light, or choose a shutter speed that makes the scene feel alive.
When automation helps, use it deliberately. For changing light, Manual with Auto ISO often lets me keep the decisions I care about most.
Your camera can calculate a recommendation. You still have to decide what the photograph should be.