One of the first things I try to teach beginning photographers is that making a good photograph involves much more than understanding shutter speed, aperture, and ISO.
Those technical skills are important. In fact, they should eventually become second nature. But knowing how to operate a camera doesn’t necessarily mean you know how to make a compelling photograph.
I’ve seen technically perfect photographs that have absolutely nothing interesting to say. I’ve also seen photographs with imperfect focus, visible grain, or intentional motion blur that are extraordinary.
The difference often comes down to the decisions the photographer made before pressing the shutter.
When I approach a location, there are three things I consider. These decisions help determine how I use the camera, how I compose the photograph, and ultimately how successful the image will be.
Where is the light coming from? What does the background look like? Are there natural leading lines? Repeating shapes? Interesting textures? Is there something distracting behind my subject?
The background is just as important as the subject!
Busy Background

Leading Lines in Background

A common mistake among beginning photographers is becoming so focused on the subject that they completely ignore everything else in the frame.
Imagine you’re photographing someone standing on a city sidewalk. Your subject may be interesting, but what about everything behind them?
There might be parked cars, utility poles, distracting signs, or people walking through the background. At time this isn’t wrong. It really depends on the context of you image. However, in the busy background there is a street light popping out of his head.
Now imagine moving a few feet to one side. Suddenly, the sidewalk creates a leading line toward your subject. The buildings create repetition, and a patch of sunlight separates your subject from the darker background.
You haven’t changed your subject. You’ve changed the photograph.
A great subject does not automatically create a great composition.
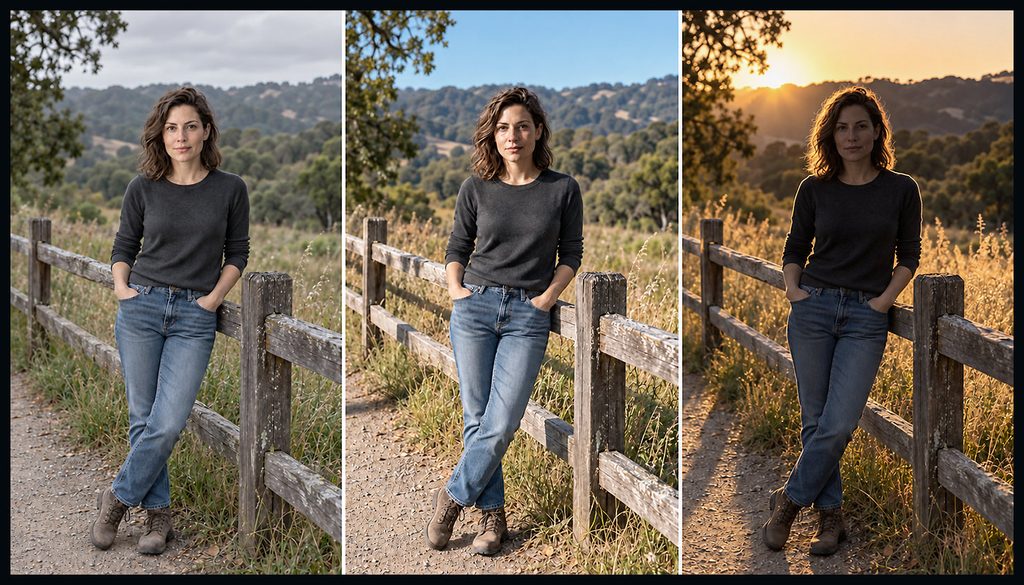
Next, I study the available light. Is the light hard or soft? Is it coming from the side, behind the subject, or directly toward them?
Light influences much more than exposure. It determines how we perceive form, texture, depth, and mood.
A subject photographed under flat, overcast light will look very different from the same subject illuminated by strong afternoon sunlight. Neither is necessarily better. They simply communicate different things.
I also look for opportunities to use light as a compositional element. Perhaps a bright area in an otherwise dark environment creates a natural place for my subject.
Choose where the subject belongs
If I’m photographing a portrait, I may move my subject into better light or position them against a more interesting background. If I’m photographing something that cannot be moved, I change my camera position.
Sometimes moving two feet left, getting closer to the ground, or shooting from a slightly elevated position can transform the relationship between the subject and the background.
This is one reason I encourage photographers to move around rather than automatically photographing everything from eye level.
Establish a working ISO
After studying the light and thinking about the photograph I want to create, I choose a working ISO. I call it a working ISO because it’s a starting point, not a setting that must remain unchanged.
The appropriate ISO depends on both the available light and what I’m trying to accomplish.
- Landscape on a bright day: I might begin at ISO 100 to maximize image quality and tonal flexibility.
- Portrait in open shade: ISO 400 might provide additional shutter-speed flexibility while maintaining excellent image quality.
- Sports or moving subjects: ISO 1600, 3200, or higher may be necessary when I want to freeze the action in limited light.
- Intentional motion blur: A lower ISO can help me achieve slower shutter speeds when I want to show movement.
These are starting points, not rules. Modern digital cameras vary considerably in their high-ISO performance.
Most importantly, I don’t select ISO simply because a location is bright or dark. I select it based on the light and the photograph I want to make.
With a digital camera, I can revisit that choice whenever the scene or my creative objective changes.
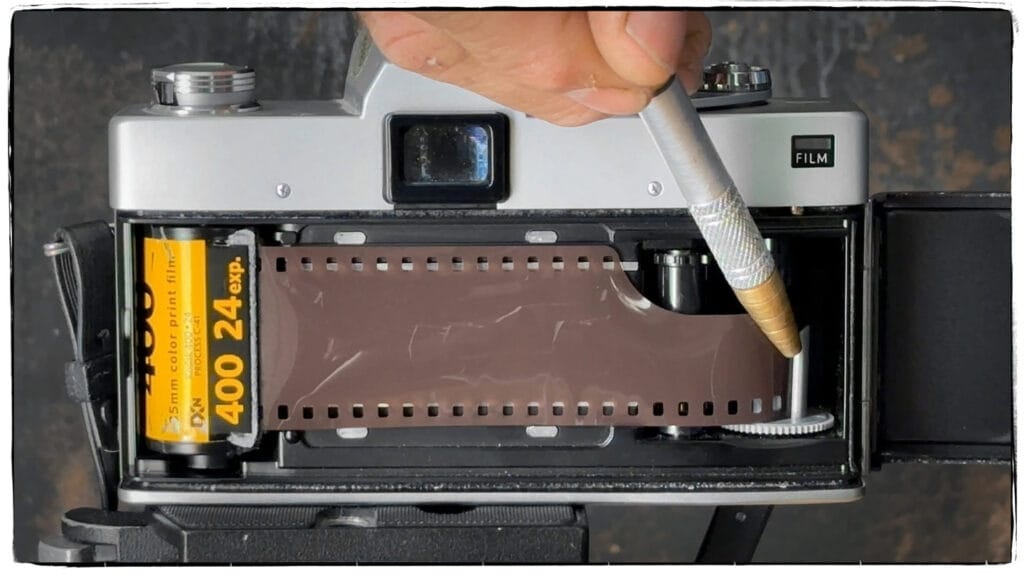
With film, the situation is different. The film’s exposure index is generally established for the roll, so I must plan more carefully around my film speed and development intentions.
The goal in either case is to approach the scene with a plan.
Decide how to portray movement
Shutter speed isn’t simply a number that controls exposure. It’s a creative tool that changes how time appears in a photograph.
Consider photographing a cyclist riding down a city street.
1/1000 second · Freeze/Stop Action Freeze the cyclist in midair, with fine details sharply recorded.
1/30 second · Pan Follow the cyclist as you expose, allowing streaks of background motion to suggest speed.
If I use a slow shutter speed while holding the camera stationary, the cyclist may become a blur moving through an otherwise sharp environment.
All three approaches can produce interesting photographs. The difference is my intention.
Before selecting a shutter speed, I ask myself whether movement will contribute to the image or distract from it.
Decide how much depth of field I need
The next question concerns aperture. Do I want the background sharp, or do I want to separate my subject from the surroundings?
- Portrait at f/2.8: Soften a distracting background and direct attention toward the face.
- Environmental portrait at f/8: Keep more of the location recognizable because the surroundings help tell the story.
- Landscape at f/8 or f/11: Maintain substantial depth of field, depending on focal length, focus distance, and the detail I want to preserve.
Notice that I haven’t said one aperture is universally better than another. The best aperture is the one that helps create the photograph I envision.
Sometimes a shallow depth of field is beautiful. But using the widest possible aperture for every photograph can become a habit that prevents more thoughtful compositions. When the background contributes important information, why eliminate it?
Establish your priorities
At this point, I’ve developed a good idea of which settings matter most. If I’m photographing fast-moving action, shutter speed may take priority. If I’m creating a portrait with a specific background appearance, aperture may become the priority.
If both requirements are important, I need a combination of shutter speed, aperture, and ISO that supports the result I want.
And if the combination doesn’t work in the available light, I may need to increase ISO, introduce additional lighting, or reconsider the visual effect.
Understanding the exposure triangle gives me choices. It doesn’t make those choices for me.

Check the entire frame
I look through the viewfinder and examine the composition one more time. I pay particular attention to the edges.
Is something partially entering the frame? Is a bright object pulling attention away from the subject? Could moving slightly improve the alignment of foreground and background elements?
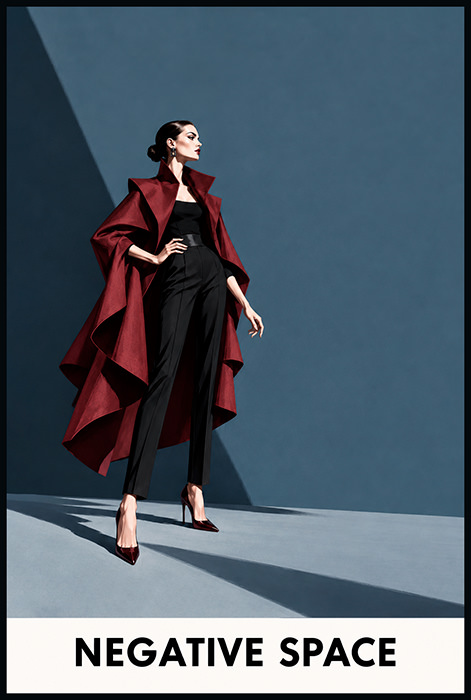
I also examine balance. Does the composition feel intentional? Am I using negative space effectively? Do the leading lines actually guide the viewer toward something important?
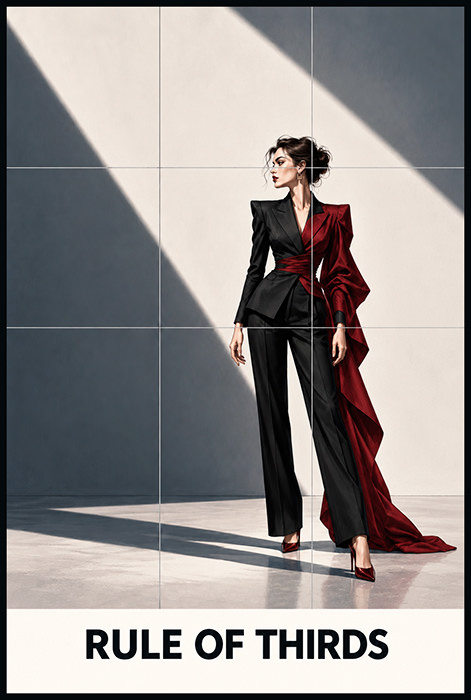
And just because my camera has a grid overlay doesn’t mean every subject must sit on a rule-of-thirds intersection. Composition isn’t a collection of rules that must be followed. It’s a way of organizing visual information.
Evaluate the exposure
Once I’ve established my composition, I meter the scene and determine the exposure.
For digital photography, I may examine the histogram and highlight warnings, depending on the subject and lighting conditions.
I want to preserve important highlights while maintaining the shadow detail needed for the final image. That doesn’t mean every highlight must contain detail or every shadow must be opened.
A dramatic low-key photograph may depend on deep blacks. A high-key portrait may intentionally contain very bright tones. Exposure should support the artistic intention.
If I’m working with black-and-white film, I may make different decisions based on important shadow values, the film’s characteristics, and how I intend to develop the negative.
Make the photograph, then reassess
Finally, I press the shutter. But I don’t assume that the first frame is the best one.
I may change my position, adjust the composition, photograph the subject from another perspective, or wait for the light to change.
When photographing moving subjects, I may anticipate a stronger gesture or a better relationship between subject and background.
For digital photography, reviewing the image can identify problems with exposure, composition, or focus. However, I don’t want to spend so much time looking at the screen that I miss what’s happening in front of me.
A successful photograph often comes from making small, deliberate improvements.
Why This Approach Makes You a Better Photographer
This process encourages you to think visually before thinking technically.
Many beginning photographers spend enormous amounts of time researching the latest cameras, lenses, and editing software. There’s nothing wrong with good equipment. But a $3,000 lens cannot recognize beautiful light, organize a complicated background, or decide when a gesture creates a powerful photograph. Those decisions belong to the photographer.
Likewise, Photoshop and Lightroom Classic are wonderful tools, but they cannot always rescue a photograph weakened by poor subject placement, bad timing, or an uninteresting composition.
The more comfortable you become with ISO, aperture, and shutter speed, the less those settings interrupt your creative process. Eventually, you can make many technical decisions almost instinctively.
That’s when photography becomes particularly rewarding. Instead of asking, “What settings should I use?” you begin asking, “What is the most interesting photograph I can make here?”
Final Thought
The camera records what you put in front of it. It doesn’t decide what’s important. It doesn’t recognize when a background strengthens a subject or when a moment has emotional significance. Art is subjective. What do you want to say!
That’s your job.
Learn to see first. Learn to control your camera second. Then use both skills to create photographs worth looking at.
Shutter Bug Academy · Learn Photography